AI Photo Editing: Change Backgrounds and Remove Objects
How to use AI for controlled photo edits: background replacement and object removal with specific prompts and quality checks.
👁 115 reads
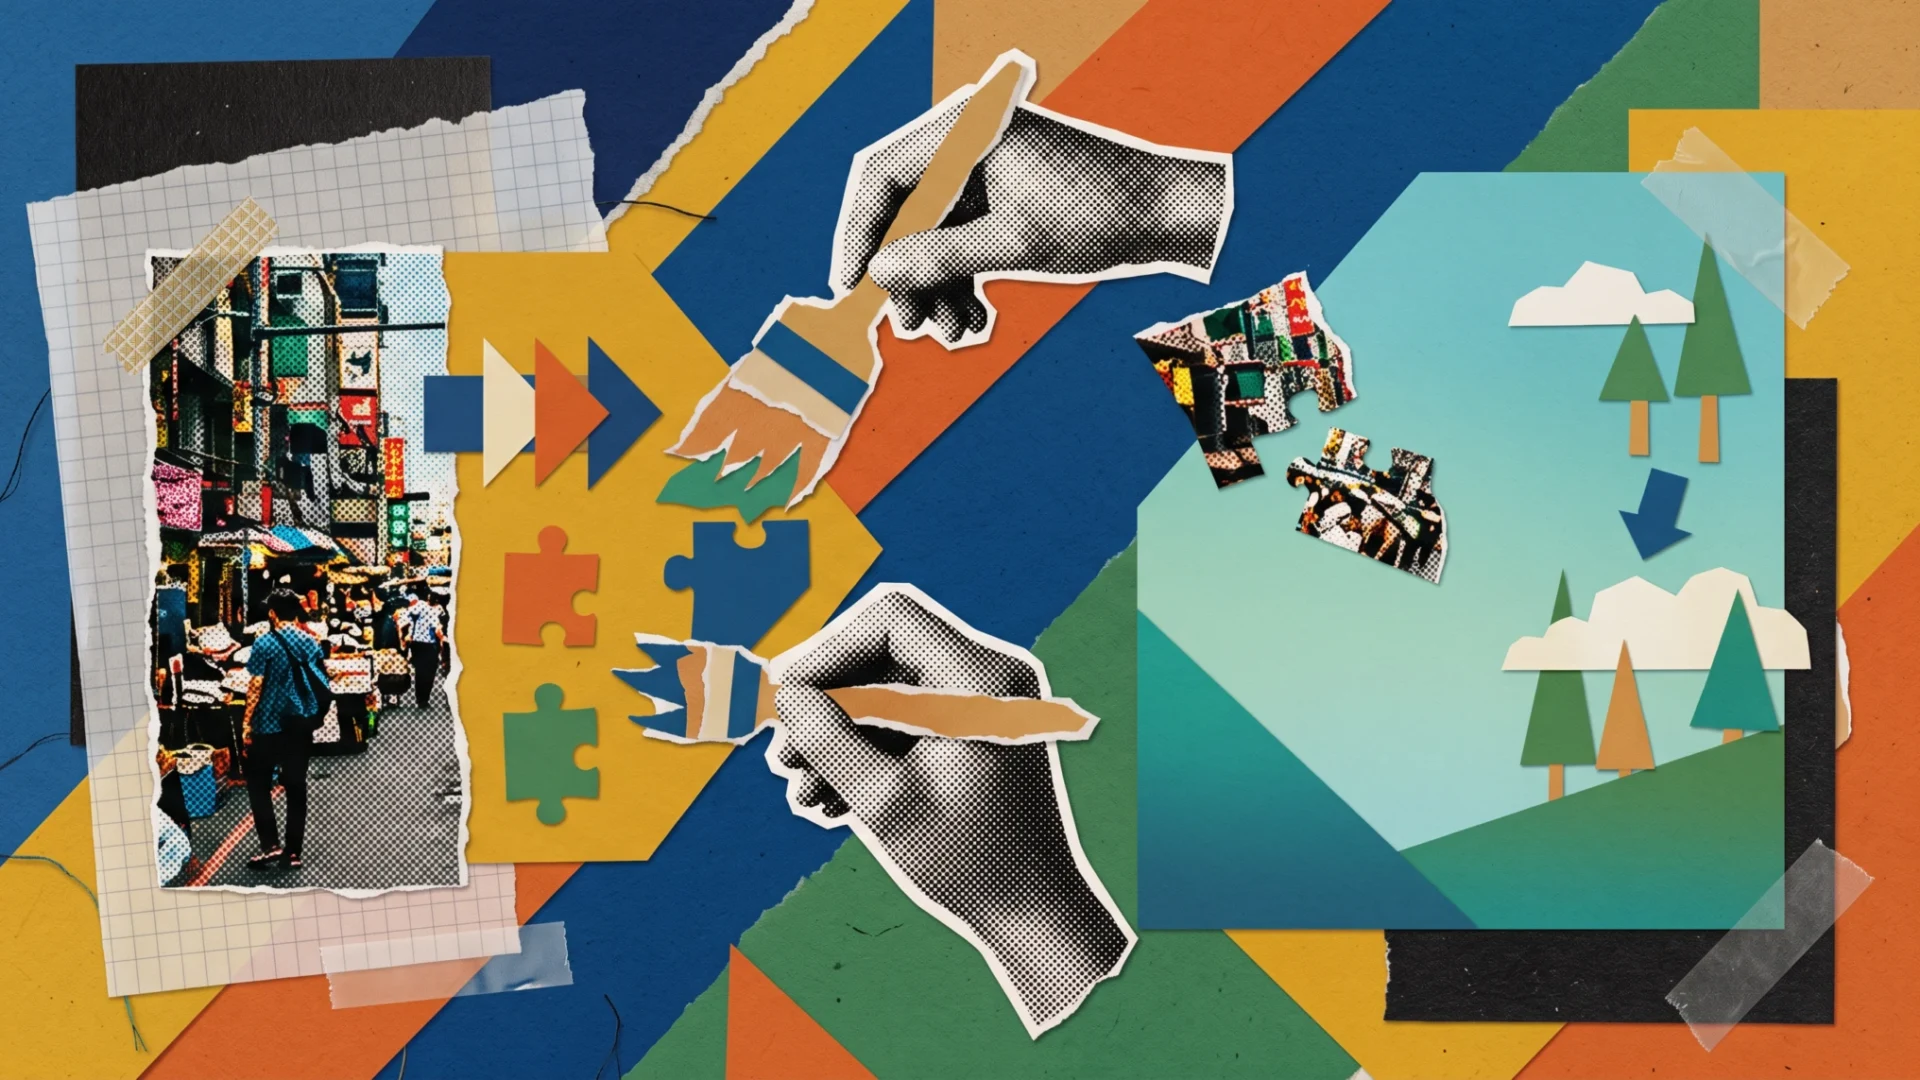
When choosing AI for photo editing, you need to match the tool to the scope of change. Removing an object from the background requires a different approach than preparing a visualization of a new interior. First, write down what you want to fix and what must stay unchanged. Then select your tool. Below, we show how to prepare such an edit without handing the model full control over your entire photo.
First, Set the Boundaries of Your Edit
For our own use, we separate appearance correction from changing the frame’s content. Brightening a photo and replacing the wall behind a portrait subject are different tasks. When changing content, we check not only aesthetics but also whether the image still shows what we want to communicate.
For product photography, we would preserve shape, color, label, and proportions. For a portrait, we would add a prohibition against changing facial features. For a room photo, we would determine whether we’re preparing documentation or a visualization of an idea. We would not call a visualization a photo of a finished implementation.
We don’t start with a general instruction like “improve the photo.” Instead, we point to a specific problem: an object at the edge, too tight a crop, or a background that distracts attention. This description also gives us a criterion for evaluating the result.
What Features to Check in a Tool
In Adobe Firefly, the generative remove function lets you mark an area with a brush and remove an unwanted element. The manufacturer describes filling that space with new content matched to the surroundings. This is an important distinction: the program creates a fill, not an authentic background hidden behind the object.
Feature source: Adobe, “Use generative remove”, helpx.adobe.com
ChatGPT is an example of a tool where you can describe a change and attach a reference image. OpenAI documentation confirms image editing through conversational instructions. We would choose this method for attempts where it’s easier to describe the expected appearance than to set it manually.
Feature source: OpenAI, “Image generation”, learn.chatgpt.com
We don’t assume every application allows equally precise area selection. We check for selection availability, version saving methods, and the ability to compare with the original. These features are more useful to us than a general claim about automatic retouching.
How to Prepare a Photo for Editing
- Keep the untouched original. For testing, choose a copy whose potential changes you can reject.
- Check whether the file contains unnecessary data visible in the frame, such as documents or addresses.
- Identify the element to change and describe its location.
- Add a list of features that must be preserved.
- Perform a limited correction. Only after evaluating it move to the next one.
- Compare the result with the original at magnification and at the target size.
When removing an object, we would also examine its shadow and reflection. The object’s disappearance alone doesn’t complete the evaluation. If a trace remains on the floor, you need to correct precisely that area. We wouldn’t then ask for a complete transformation of the entire room again.
Prompt for Background Change
Edit the attached product photo.
Replace only the background with a light, matte wall and neutral surface.
Preserve the product's shape, color, proportions, label, and all details.
Do not change the angle from which I'm viewing it.
Match the shadow to the existing light direction.
Do not add text, decorations, or new objects.
This prompt defines the goal. It doesn’t guarantee preservation of every detail. Before using the image, we would check the label letter by letter and compare the product’s outline. If the tool changed the product, we would reject the result or limit editing to a precisely marked background.
Prompt for Object Removal
Remove the bag lying in the lower left corner of the photo.
Fill this area with flooring consistent with the visible surroundings.
Preserve the line where the floor meets the wall.
Do not change furniture, framing, colors, or lighting.
Do not correct other parts of the photo.
After such an edit, we would look for repeating texture fragments and breaks in straight lines. With flooring or tiles, we would compare the pattern direction. These are specific places to check, not a statement that a given program always makes such mistakes.
What Not to Expect
- We don’t expect to recover the true content of a covered area. We treat generative fill as a new fragment of the image.
- We don’t assume preservation of a person’s identity after arbitrary portrait reconstruction. We compare features with the original.
- We don’t treat the instruction “change nothing else” as a guarantee. We check the entire photo.
- We don’t count on removing every quality problem by generating details. New details may not correspond to the photographed object.
- We don’t expect the application to recognize the editorial significance of a change on its own. We decide whether the image is still honest toward the viewer.
How to Evaluate a Finished Edit
We accept the result only after checking the edit boundaries. We examine hair against the background, clothing edges, glass, and light-reflecting surfaces. Then we return to the question from the beginning: did we fix the indicated problem and preserve the rest?
If the photo is for an advertisement, we especially guard the features of the shown object. We wouldn’t remove signs of wear just to make an item look new. If we’re preparing a visualization, we mark its character. We make these decisions before editing, when it’s easier to assess its purpose.
We would consider AI for photo editing useful if it allows a limited change and easy evaluation of its effects. For removing a specified object, we would consider Firefly. For changes described in conversation, we would consider ChatGPT. In both cases, we would accept only an image compared with the original.
Related Topics
If you’re looking for a neighboring application, we have separate articles about AI photo generators and AI detectors. Each has a section on tool limitations, because that usually determines whether it’s worth implementing something.
Specific Cases with Ready Prompts
We’ve described three situations that come up most frequently separately with prompts to copy: old photo restoration, frame expansion, and changing one element without touching the rest.
Google · Your sourcesQuantslant higher in your Google - one clickAdd to preferred sources →Old Photos and Portraits
A separate case is archival photos and historical portraits, where fidelity is at stake, not effect. We showed this with specific examples: historical portraits with AI.
More on this from QUANTSLANT


 guides·AI Detectors: How to Read Results and Check Text ProperlyAI detectors give signals, not proof. We explain how to interpret reports, what research shows about bias, and how to verify text authorship properly.