Animated Logos in Leonardo AI - No After Effects Needed
Leonardo AI's new animation module lets you create professional animated logos in your browser without Adobe After Effects. Here's how to do it in 15 minutes.
👁 117 reads
For years, Adobe After Effects was the only real choice for designers wanting to animate logos. Expensive subscription, steep learning curve, time-consuming workflow - familiar problems for everyone. But on February 20, 2026, Leonardo AI changes the game. The platform’s new animation module lets you create professional animated logos right in your browser, without diving into After Effects complexity.
This tutorial shows you exactly how. You’ll need: a Leonardo AI account (free or premium), a basic animation idea, and about 15 minutes. No animation experience or Adobe knowledge required. Let’s start.
What You’ll Achieve in This Tutorial
By the end, you’ll have a finished animated logo in GIF or MP4 format, ready to place on your website, social media, or portfolio. The logo will have a smooth loop, professional transitions, and look like something you’d normally spend hours creating in After Effects.
Requirements and Preparation
First, create or prepare a static logo. You can use your own PNG with transparency, generate a new one in Leonardo AI, or even make one in Canva. The important thing is having a base to work with. Leonardo AI’s animation module works on existing images, adding motion to them.
Log into Leonardo AI at leonardo.ai. In the left menu, you should see a new “Animation Module” section - that’s exactly what we’re looking for. If you don’t see it, make sure you have the latest version of the app (refresh the page).
Step 1: Upload Your Logo to the Animation Module
Click “Create new animation” or the plus icon in the animation module. Leonardo will display a file upload window. Drag your logo there (PNG with transparency works best, but JPG works too). Files can be up to 5 MB.
After uploading, the logo appears on the work canvas. On the right side, you’ll see a panel with animation parameters. This is where the magic happens.
Step 2: Choose Your Animation Type
Leonardo offers several predefined animation types for logos. This is the easiest place to start:
Spin - the logo rotates around its center. Ideal for simple, symmetrical graphic marks.
Pulse - the logo enlarges and shrinks rhythmically, as if “breathing.” Works well for logos with softer shapes.
Bounce - the logo bounces up and down with elastic motion. Energetic, modern, attention-grabbing.
Morph - this is the most interesting. The logo smoothly transforms between two variants, which could be a color version and monochrome. Requires uploading a second logo file (alternative version).
Glow - a glowing effect appears around the logo, pulsing in a loop. Perfect for high-tech or beauty brands.
Select one type by clicking on it. The logo in the preview changes immediately, showing how the animation will look.
Step 3: Fine-Tune Animation Parameters
This is where you make things really good. The right panel contains sliders and numbers - each one changes the speed, intensity, or character of the motion.
Duration (loop time) - how long one complete animation cycle takes. Start with 1-2 seconds for logos (standard), but you can go up to 5 seconds for something slower and more elegant.
Speed - tempo multiplier. 1.0 is normal, 2.0 is twice as fast, 0.5 is half. Faster is more energetic; slower is more elegant.
Intensity - how large the range of motion is. For spin: 1.0 is one full rotation (360 degrees), 2.0 is two rotations in the loop. For pulse: 1.0 is slight enlargement, 2.0 is a big “hit.”
Easing (smoothness) - how the motion looks. Options here: Linear (constant), Ease-in (slow at start, fast at end), Ease-out (fast at start, slow at end), Ease-in-out (slow at both ends). Ease-in-out looks most natural for most logos.
Step 4: First Tests - Live Preview
After each change, Leonardo shows a live preview on the canvas. Check how it looks. Ask yourself: does the loop look natural? Is the motion irritating? Is the logo clearly visible in motion?
If the animation is too fast - decrease Speed. If it’s boring - increase Intensity. If the motion doesn’t look smooth - change Easing to Ease-in-out.
There’s no perfect setting - it’s a matter of taste and brand. If you’re animating a logo for a tech startup, energetic tempo will fit. For a law firm - something slow and calm.
Specific Parameter Settings for Different Scenarios
Below are ready-made settings for different occasions. Copy the numbers to your sliders and adjust if needed.
Scenario 1: Energetic logo for tech startup
Type: Spin
Duration: 2 seconds
Speed: 1.5
Intensity: 1.5
Easing: Ease-in-out
Rotation: Full (360 degrees)
Opacity loop: No
Why these settings? Spin at 1.5x intensity is almost two rotations - you see motion but the logo doesn’t look messy. Speed 1.5 is fast, but not frantic. Ease-in-out guarantees smoothness.
Scenario 2: Elegant logo for premium/beauty brand
Type: Pulse
Duration: 3 seconds
Speed: 0.8
Intensity: 1.2
Easing: Ease-in-out
Scale range: 90% to 110% (maximum 10% enlargement on each side)
Alpha fade: optional (transparency changes slightly)
Slower Speed (0.8) makes it look luxurious. Pulse with Intensity 1.2 is subtle “breathing” - not excessive. Important: scale range 90-110 is a limit so the logo doesn’t look like it’s falling apart.
Scenario 3: Fun, playful logo for children/education
Type: Bounce
Duration: 1.5 seconds
Speed: 2.0
Intensity: 2.0
Easing: Linear
Bounce height: 30 pixels
Rotation during bounce: 15 degrees (slight rotation)
Speed 2.0 and Intensity 2.0 create “cheerful” motion. Linear easing (not ease-in-out) makes the bounce look more like physics, more playful. Slight rotation during the jump adds character.
Scenario 4: Minimalist logo with glow effect for fintech
Type: Glow
Duration: 2.5 seconds
Speed: 1.0
Intensity: 1.3
Easing: Ease-in-out
Glow color: Match primary (match logo color)
Glow blur: 10-15 pixels
Alpha pulse: 0.6 to 1.0 (glow pulses but never completely disappears)
Glow creates subtle light effects - intense but not aggressive. Intensity 1.3 creates a visible but not irritating halo effect. Alpha pulse from 0.6 makes the glow breathe with the logo.
Scenario 5: Dynamic morph animation (for two logo variants)
Type: Morph
Duration: 3 seconds
Speed: 1.2
Intensity: 1.0
Easing: Ease-in-out
Morph range: 0-100% (full transformation between variants)
Freeze time: 0.3 seconds (pauses on each variant for 0.3s)
Morph is the most complex but most interesting. Requires two logo versions (e.g., color and black-and-white). Speed 1.2 is fast but not crazy. Duration 3 seconds gives time for smooth transformation. Freeze time ensures you see both versions before the change happens.
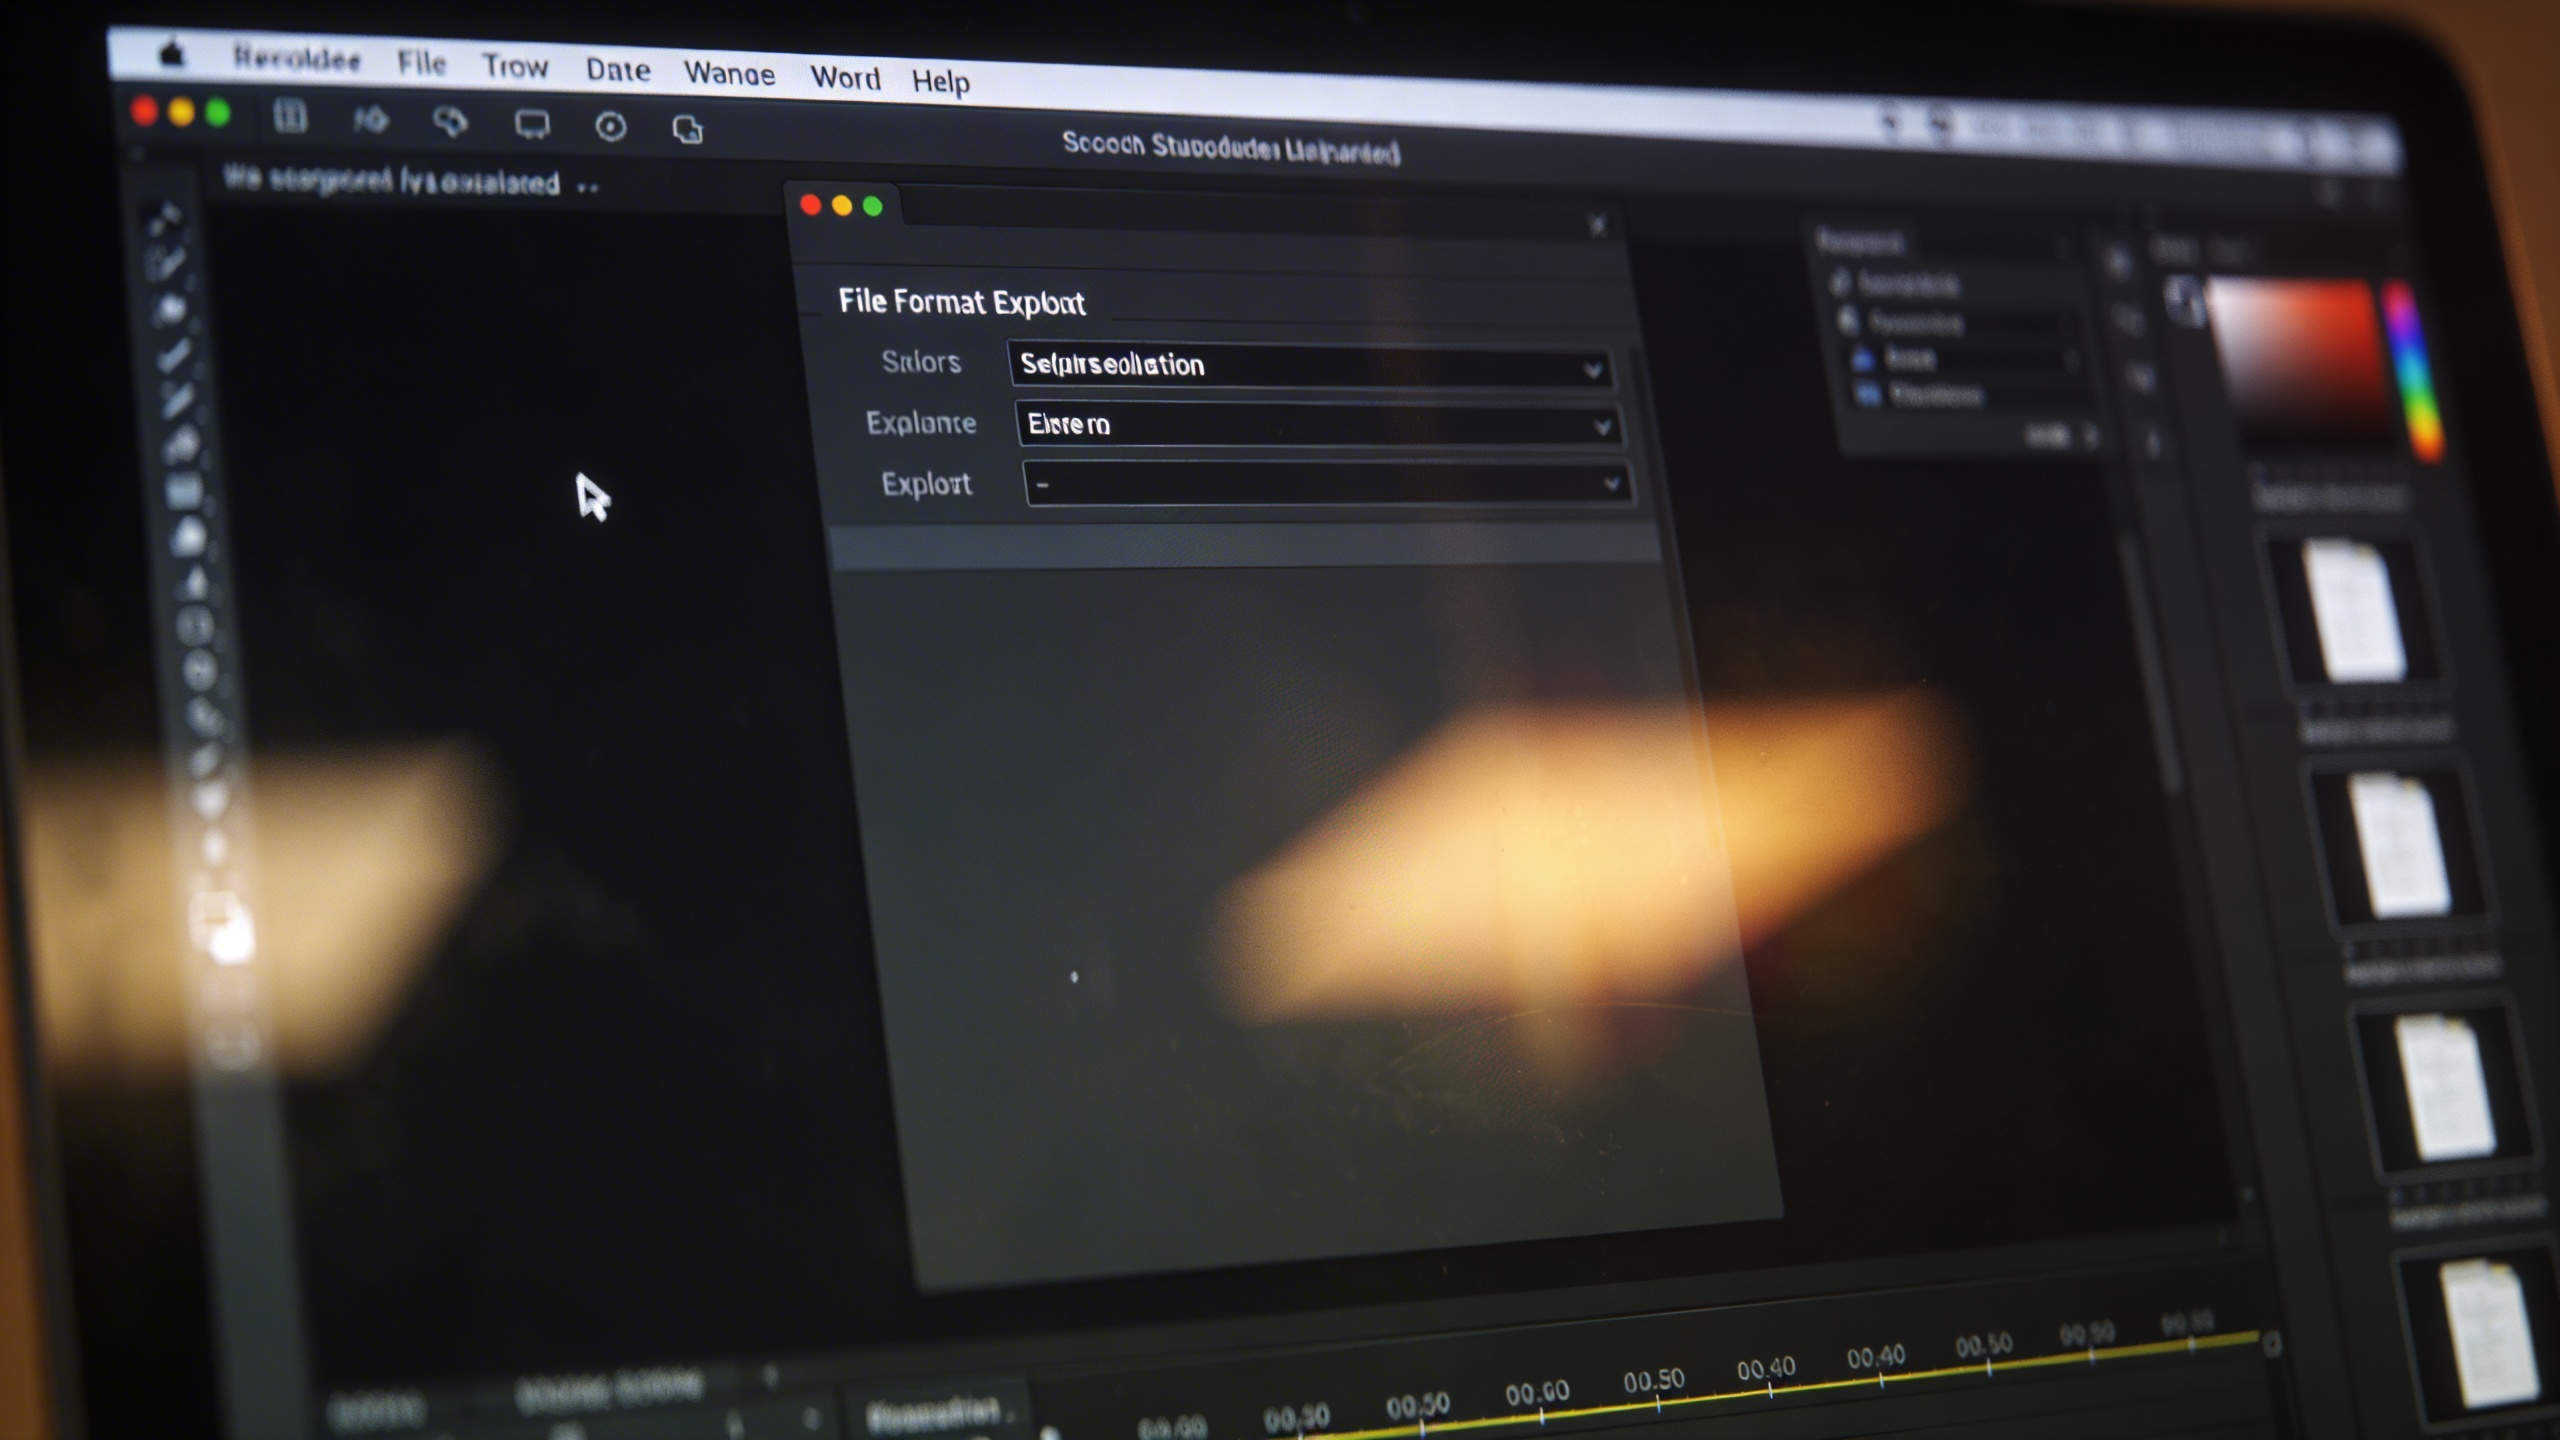
Step 5: Export Your Animated Logo
When the animation looks perfect, it’s time to export. Click the “Export” button in the upper right corner (should be a button with an arrow icon or “Download”).
Leonardo gives you format options:
GIF - classic format, universal, supported everywhere. Large file size, but compression OK. Best if you want to place the animation on a website or social media without conversion.
MP4 - video, much smaller file sizes, better support for modern browsers. Ideal for websites and emails. Supports transparency (alpha channel) if you choose the right codec.
WebM - modern format, better transparency support than GIF, smaller than MP4. Recommended if you’re building a modern website.
APNG - improved version of GIF with better compression and transparency. Less known, but excellent for logos.
For most uses: if you want to quickly place on a website - MP4. If you want easy sharing - GIF. If you care about quality and size - WebM.
After choosing a format, Leonardo asks for final resolution confirmation (1920×1920 pixels is standard for logos). Click “Download” and you’re done.
Pro Tip: Save Time with Templates
Pro Tip ✅
Leonardo AI remembers the animation parameters you last used. If you’re creating multiple logos for the same brand, set the parameters once for the first one, then “Use this template” for subsequent ones. Only the image changes, not all the settings.
Pro Tip: Variants for Different Sizes and Platforms
Pro Tip ✅
Logos must work everywhere: on websites (large), on social media (medium, narrow), in favicons (small and dense). If an animation works perfectly at large size, it may be invisible at small size. Rule: for small formats (favicon, Instagram story) increase animation Intensity by 20-30%, so motion is more readable. For large formats you can soften it.
Pro Tip: Colors and Contrast in Animation
Pro Tip ✅
Animation changes how people perceive logo color. Fast spin can make a multi-colored logo look like one color. If you want colors to be distinct - use slower animation (Duration 2-3 seconds) and lower Speed (0.8-1.0). If you want motion to dominate over color - speed up.
Pro Tip: Testing in Reality
Pro Tip ✅
Always test animation in real conditions: show on phone, check how it looks on dark background, light background, in email, on website. Preview in Leonardo AI can be misleading - rendering may differ, colors may change, animation may be less smooth on older devices. If a client changes their mind after seeing it on their laptop - no problem, you can immediately change parameters and export again.
Pro Tip: Loops Must Be Really Smooth
Pro Tip ✅
On export, Leonardo may insert an invisible frame at the transition between the last and first frame of animation (this is normal in GIF and MP4 formats). If you notice the loop “jerks” (slight jump) - increase animation Duration by 0.5 seconds and decrease Intensity slightly. Smooth loops are magic, and Leonardo handles them well if you have enough time for the animation to fade between stages.
Four Mistakes to Watch Out For
First issue: animation too fast. Beginners tend to set Speed at 2.0+ and Duration at 1 second. Result? The logo becomes a blur. Start with 1.0-1.5 speed and 2-2.5 seconds. You can always speed up; it’s harder to slow down after a client says “it’s too fast.”
Second issue: too much intensity. Intensity 2.0+ for spin is two full rotations per second. That’s overkill. For simple logos, Intensity 1.0-1.3 is already clearly visible and professional. Too much intensity turns the logo into “spinning” and loses elegance.
Third issue: not testing the loop. Never release an animation without checking whether the transition from end to beginning is smooth. If you see a “jump” - change parameters (usually Duration +0.5s saves the day) and test again.
Fourth issue: ignoring Easing. Easing isn’t decoration. Easing determines the entire “feel” of the animation. Spin with Linear easing looks mechanical. Spin with Ease-in-out looks like natural motion. Always test at least two Easing variants before deciding.
How Much Does It Cost?
Leonardo AI’s animation module is part of the platform. In the free plan you have a limited number of monthly exports (probably 5-10). Premium gives unlimited exports. Compare this to Adobe After Effects (subscription alone plus the need for seven other apps to do something professionally = $400+) - Leonardo is cheaper for simple tasks.
Will Leonardo Beat Adobe Competition?
For simple animated logos - yes, it will. Why pay $400+ for Adobe if Leonardo does it cheaper? But if you need advanced effects, motion dynamics, particle effects, 3D - Adobe still has the edge. Leonardo is for quick, beautiful, ready-made animations. Adobe is for filmmakers and complex work.
For a freelancer or small design agency? Leonardo is enough for 80% of projects.
Google · Your sourcesQuantslant higher in your Google - one clickAdd to preferred sources →Who Wins, Who Loses
Winners: freelancers designing logos, small agencies, startups, independent brands, anyone looking for a quick and cheap alternative to Adobe. Losers: Adobe (a bit), designers who recorded expensive After Effects training courses (content will be less valuable), studios that built workflows around Adobe (forced to adapt to the new reality).
For you, if you design logos and were looking for a solution - this is the moment to try Leonardo. 15 minutes, one animated logo, see if you like it or not. No risk, no financial investment.
More on this from QUANTSLANT
 news·California AI Worker Protection Laws Set National PrecedentCalifornia just passed the first comprehensive AI workplace regulations in the US - banning AI-only firings, emotion tracking, and bathroom surveillance.