How to Install Qwen-Image-2.1 Locally on Windows
Set up Qwen-Image-2.1 on Windows with ComfyUI, and find the optional Turbo and prompt-enhancement models.

👁 128 reads
I set up Qwen-Image-2.1 on Windows with an RTX 4090 and measured every step. The entire installation is four commands and 17 gigabytes of downloads, but there are three traps along the way that will make the model run on CPU or not run at all. I hit all three, so I’m documenting them with workarounds.
Verdict in One Paragraph
Shortest path: ComfyUI plus three model files in int8 variant - 16.6 GB total. Fits entirely on a 24 GB card with no offloading to CPU. After installation, a 1024×1024 image takes 8 seconds, and 2048×2048 takes 44. Most important trap: the requirements.txt file in ComfyUI contains just torch, so it overwrites the GPU-enabled version with the CPU version. Installation order matters here and nobody warns you about it.
What You Need
| Component | Requirement | My Setup |
|---|---|---|
| Graphics card | 16 GB memory sufficient | RTX 4090, 24,564 MB |
| Python | 3.13 (not 3.14) | 3.13.15 |
| Disk space | 30 GB with margin | separate drive, not system |
| Model files | 16.6 GB in int8 variant | downloaded in 10 minutes |
Note about Python: libraries with GPU support don’t have releases for 3.14 yet. If you have both versions, force 3.13 when creating the environment.
Step 1: ComfyUI
git clone --depth 1 https://github.com/comfyanonymous/ComfyUI.git D:ComfyUI
The version from September 22, 2026 supports Qwen-Image-2.1 out of the box, without any extensions. For the setup described here, all necessary nodes are built in.
Step 2: Environment and Libraries - In This Order
This is where installation most often breaks. The order below is counterintuitive and that’s how it should be:
cd D:ComfyUI
py -3.13 -m venv venv
venvScriptspython -m pip install -r requirements.txt
venvScriptspython -m pip install --force-reinstall torch torchvision --index-url https://download.pytorch.org/whl/cu132
Trap 1: requirements.txt Kills GPU Support
In requirements.txt there’s a line torch - without version and without source specification. If you install the GPU-enabled version first, then run requirements installation, pip will decide the package needs to be fetched from the standard repository and replace it with the CPU version. You won’t see any warning.
Symptom: the model works but generates images dozens of times slower. Checking takes five seconds:
venvScriptspython -c "import torch; print(torch.__version__, torch.cuda.is_available())"
It should print a version with +cu suffix and True. If you see +cpu and False - that’s this trap. For me it looked like: 2.14.0+cpu, False instead of 2.14.0+cu132, True.
Trap 2: torchaudio Breaks the Entire Command
All tutorials tell you to install three packages at once: torch torchvision torchaudio. The latest channel doesn’t have a torchaudio release, so pip aborts the entire command with a message about no matching distribution - and doesn’t install the other two either, which are actually available.
ComfyUI doesn’t need torchaudio for image generation. Install two packages, not three.
Trap 3: Channel Number Must Match
The address with cu132 in my instructions is a specific toolkit version. Channels change - if this one doesn’t work, check which releases are available for your Python version at download.pytorch.org/whl/. For me, cu134 didn’t have releases for Python 3.13 yet, but cu132 did.
Step 3: Model Files
Three files from the repository prepared by the ComfyUI team. Each goes to a different directory:
| File | Size | Directory |
|---|---|---|
qwen_image_2.1_int8_convrot.safetensors |
6.76 GB | modelsdiffusion_models |
qwen3vl_8b_int8_convrot.safetensors |
8.71 GB | modelstext_encoders |
qwen_image_2.1_vae_bf16.safetensors |
0.63 GB | modelsvae |
You download them from the Comfy-Org/Qwen-Image-2.1 repository on Hugging Face. For me the complete set downloaded in about ten minutes at 31 MB per second.
Why int8 specifically: full precision versions weigh 14.2 GB and 17.5 GB, totaling 31.7 GB - that no longer fits on a 24 GB card. The int8 variants give 16.6 GB and fit with margin. Full breakdown of variants I did separately.
Step 4: Launch
venvScriptspython main.py
The interface waits at http://127.0.0.1:8188. In the template library there’s a ready-made layout called Text to Image (Qwen Image 2.1) - you select it, enter a prompt and you’re done.
Ready Script for Batch Generation
Clicking in the interface is good for single images. For series, a script talking to ComfyUI through its own API is more convenient. Below is the node layout that works for me - it corresponds exactly to the manufacturer’s template:
| Node | Setting |
|---|---|
UNETLoader |
int8 file, weight type: default |
CLIPLoader |
text encoder, type: qwen_image |
TextEncodeQwenImage21 |
positive and negative prompt in one node |
EmptyLatentImage |
width, height, batch 1 |
KSampler |
25 steps, cfg 1.0, euler, simple, denoise 1.0 |
VAEDecode and SaveImage |
decoding and saving |
Thing that surprises when writing your own script: the text encoding node accepts positive and negative prompts together, and returns two separate outputs - positive and negative. There aren’t two separate encoding nodes here, like in older layouts. Second surprise: cfg is set to 1.0, not the typical 7-8.
What You’ll Do Right After Installation
Four frames from the first minutes after launch - no extensions, just the manufacturer’s template and changed prompts.
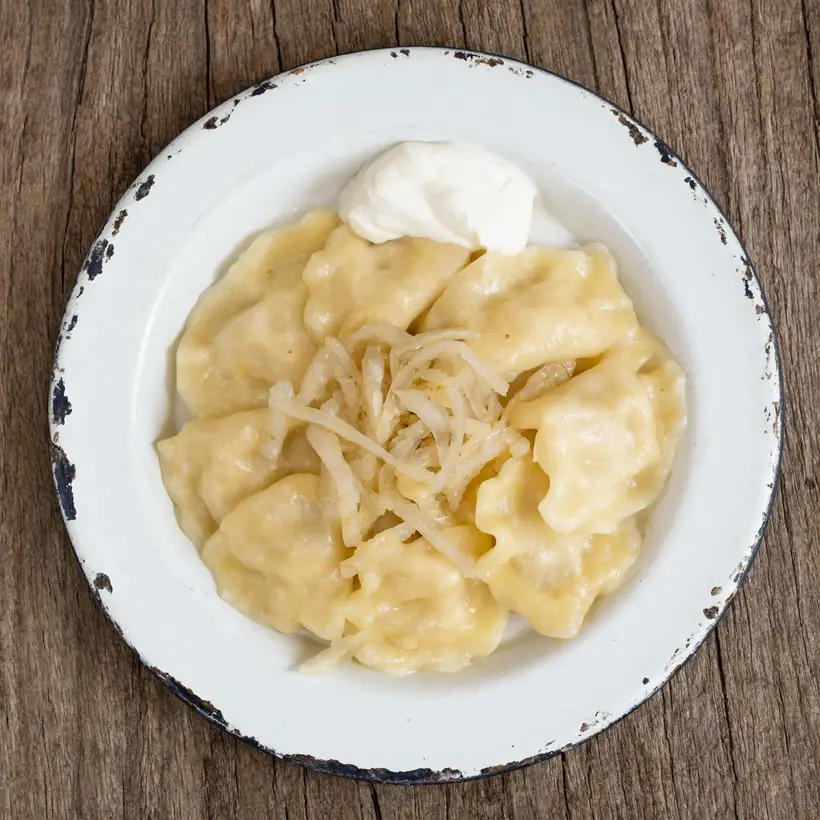
Food photography straight from the template - dumplings, each with a different edge shape.
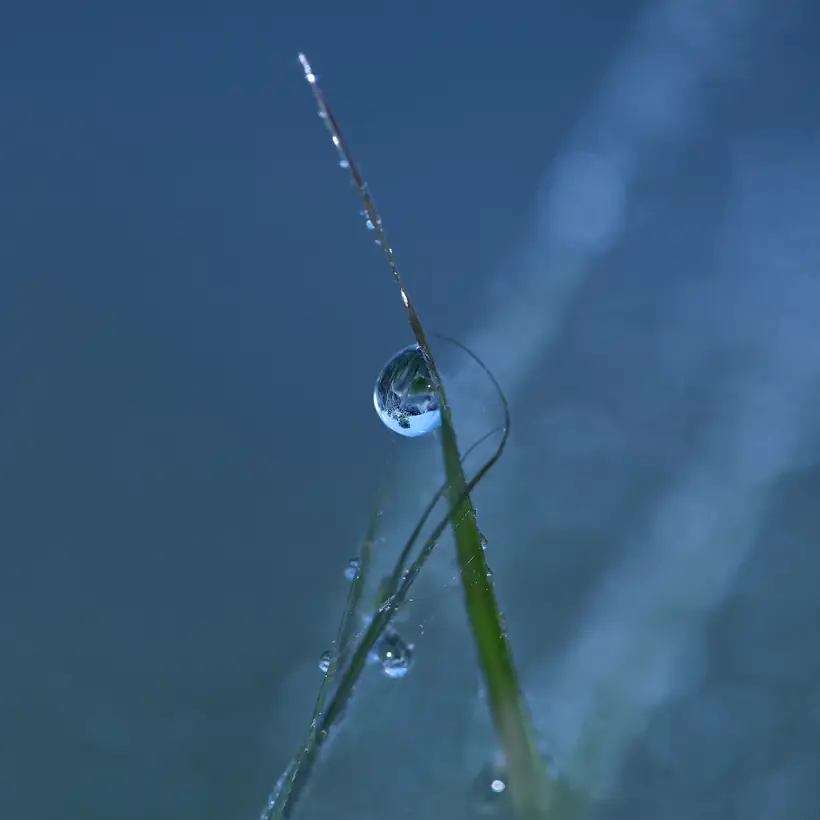
Macro: dew drop, shallow depth of field and cool blur in the background.
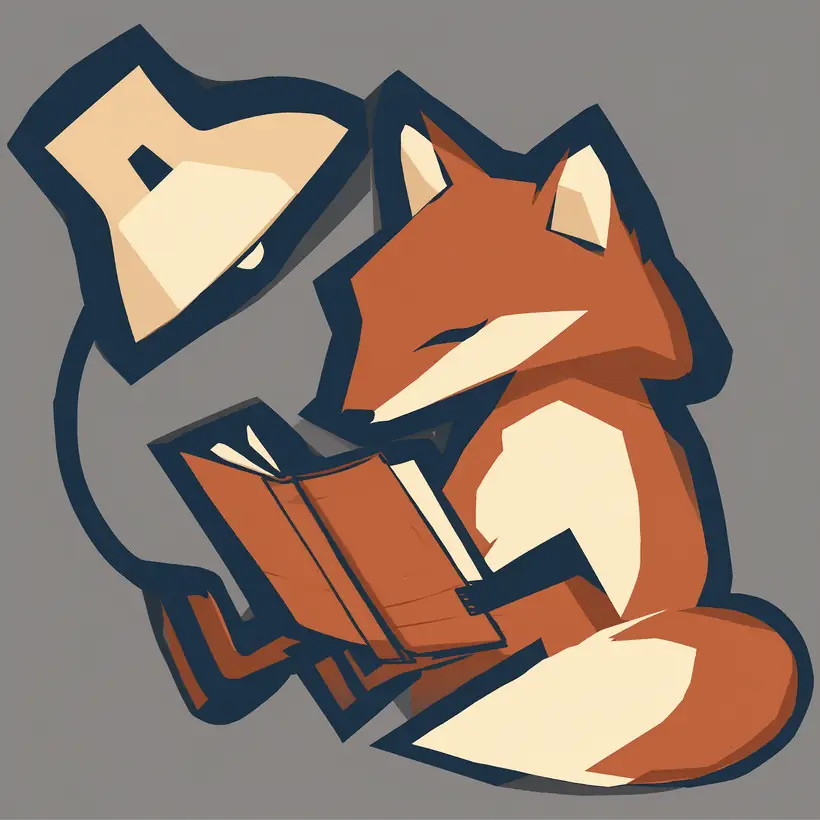
Flat vector illustration - correct, though without its own character.
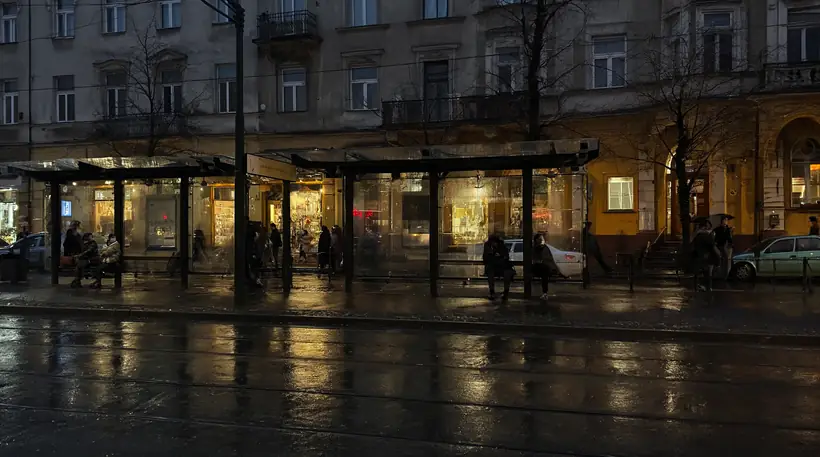
Street photography: rainy bus stop at dusk, reflections on asphalt.
My Times After Installation
| Resolution | Steps | Time |
|---|---|---|
| 1024×1024 | 12 | 8.4 s |
| 1536×1536 | 25 | 18 s |
| 2048×2048 | 25 | 44 s |
| 2752×1536 | 25 | 46 s |
First run is slower by a few seconds because the model initializes. At 1024×1024 the card managed 4.8 steps per second.
See also: Local AI: text models, images and video on your own computer · test of 7 local models
Frequently Asked Questions
Does Qwen-Image-2.1 work on Windows?
Yes. The entire installation described above is Windows 11 with an NVIDIA card, without a Linux layer.
How much GPU memory is needed?
In the int8 variant the model takes 16.6 GB, so a 16 GB card is on the edge, and 24 GB has margin. Variants for weaker cards I described separately.
Why is generation very slow?
Most often because the CPU version of the library is installed. Check with the command from step two - it should show True.
Do you need to install ComfyUI extensions?
No. All nodes needed for this model are built into the September 2026 version.
What sampler settings?
25 steps, cfg 1.0, euler sampler, simple scheduler. That’s what the official template looks like and that’s how it works for me.
Can I use generated images in commercial work?
Not without separate permission from the manufacturer - the license restricts use to research and evaluation. I break this down in a separate article, because it’s the most often overlooked element of this release.
Sources and Verification Date
Installation conducted and measured September 22, 2026 on Windows 11 with RTX 4090 (24,564 MB), Python 3.13.15, ComfyUI in the version from the same day. Model files from the Comfy-Org/Qwen-Image-2.1 repository. All times, sizes and described traps are my own measurements and errors, not manufacturer materials. Library channel numbers change every few weeks - if the given address doesn’t work, check the current list at the source.
Optional Turbo and Prompt-Enhancement Models
The Comfy-Org repository lists alternatives to the base setup above. For faster inference, it offers a full Turbo model or Turbo LoRAs. The full Turbo files go in models/diffusion_models/; LoRA files go in models/loras/. These are options to explore, not files needed for the base installation.
The repository also lists prompt-enhancement models for text-to-image and image-to-image use. Their files go in models/text_encoders/, and the repository says to use them with the Generate Text node. Consult the repository workflows when setting up an alternative: the installation and timing results above describe the base model, not a test of these optional files.
Do I need Turbo for the base setup?
No. The Turbo model and LoRAs are alternatives for faster inference.
Where do the prompt-enhancement files go?
Put them in models/text_encoders/ and use the Generate Text node.
Sources for this update
More on this from QUANTSLANT
 benchmarks·Kling Polish Speech Test: Non-English Dialogue QualityWe tested Kling 3.0 with Polish speech and compared it to MiniMax H3. Polish isn't officially supported, and our tests show why that matters for non-English content.