Polaroid Effect on Photos: Ready Prompts & 7 AI Tests
The Polaroid effect can fail with the first prompt: instead of a white border you get a different face and milky haze. We test frame, warm tone, flash, and aging.
👁 117 reads
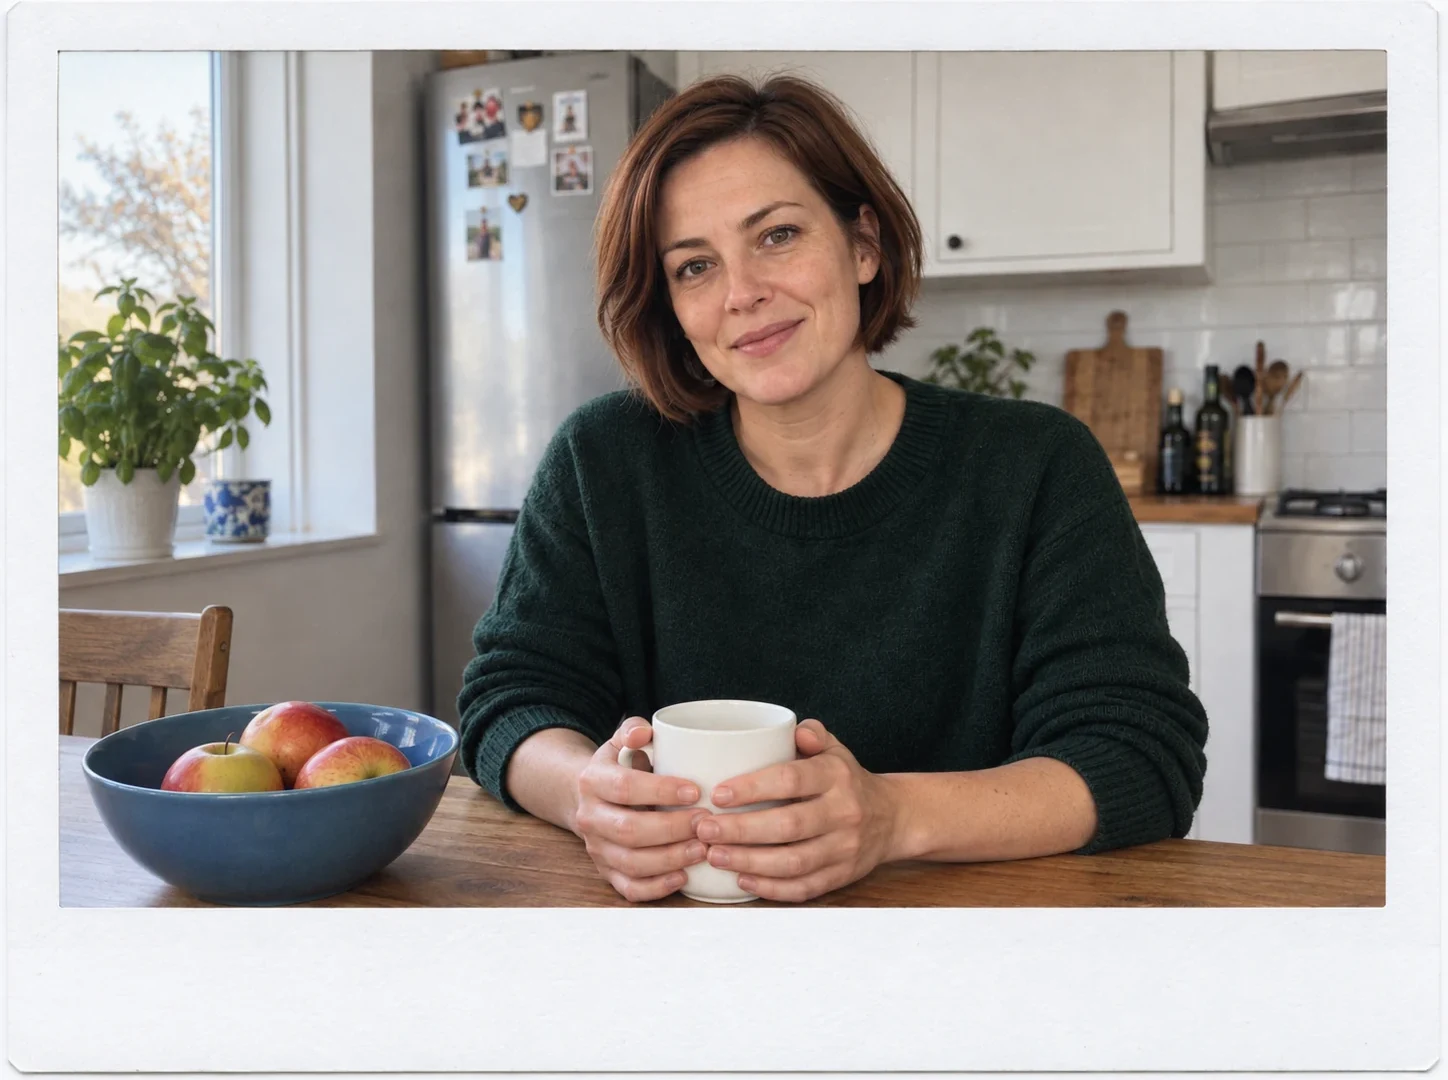
The Polaroid effect can break with your very first prompt: instead of a photo in a white border you’ll get a different face and milky fog. In this test we examine the frame, warm color, flash and paper aging separately. Below you’ll find ready-to-use prompts and real results, including a deliberately overdone variant that shows when “retro” starts to obscure the photo.
How to Create a Polaroid Effect on Your Own Photo
If you only want a white border, use a frame in a photo editor. Generative editing makes sense when you also want to change the light and character of the print. In our first test AI didn’t limit itself perfectly to the border, so don’t treat it as a tool that guarantees preservation of every pixel.
- Choose a sharp original from your gallery and keep a copy. Start with a single clearly visible portrait.
- Open a tool that supports editing of uploaded images. Attach the file before sending the prompt.
- Choose one of the variants below. Replace the description of the mug, apples and sweater with objects from your own photo.
- Compare the face, hands, text and edges of objects with the original. Style doesn’t justify changing the person.
- Save the full result file. If you want to compare a different variant, start again from the original.
One Input Photo, Seven Edits
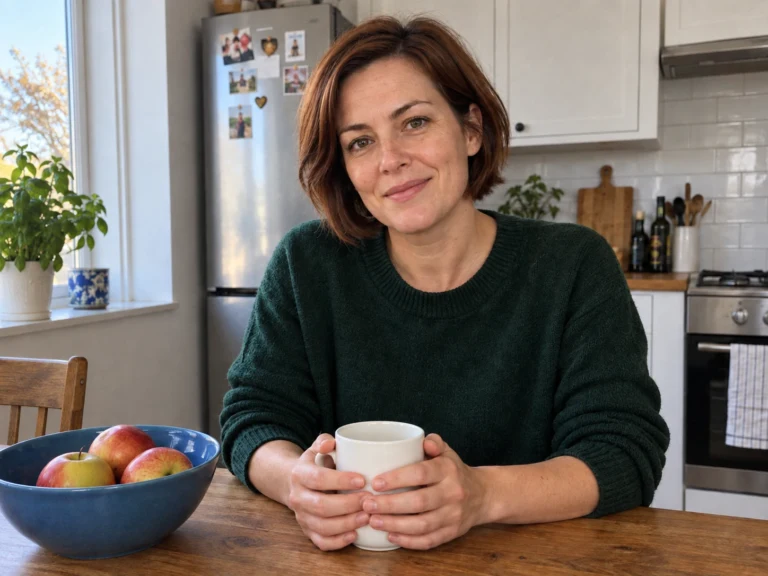
All images below were created in our editorial test on September 16, 2026 in an image generation and editing tool available in that session. They are not stock photos or scans of real old photographs. The input image also depicts a fictional person generated by AI. Each edit was run from the same input image with a separate prompt. The results show these specific tests; another run may look different.
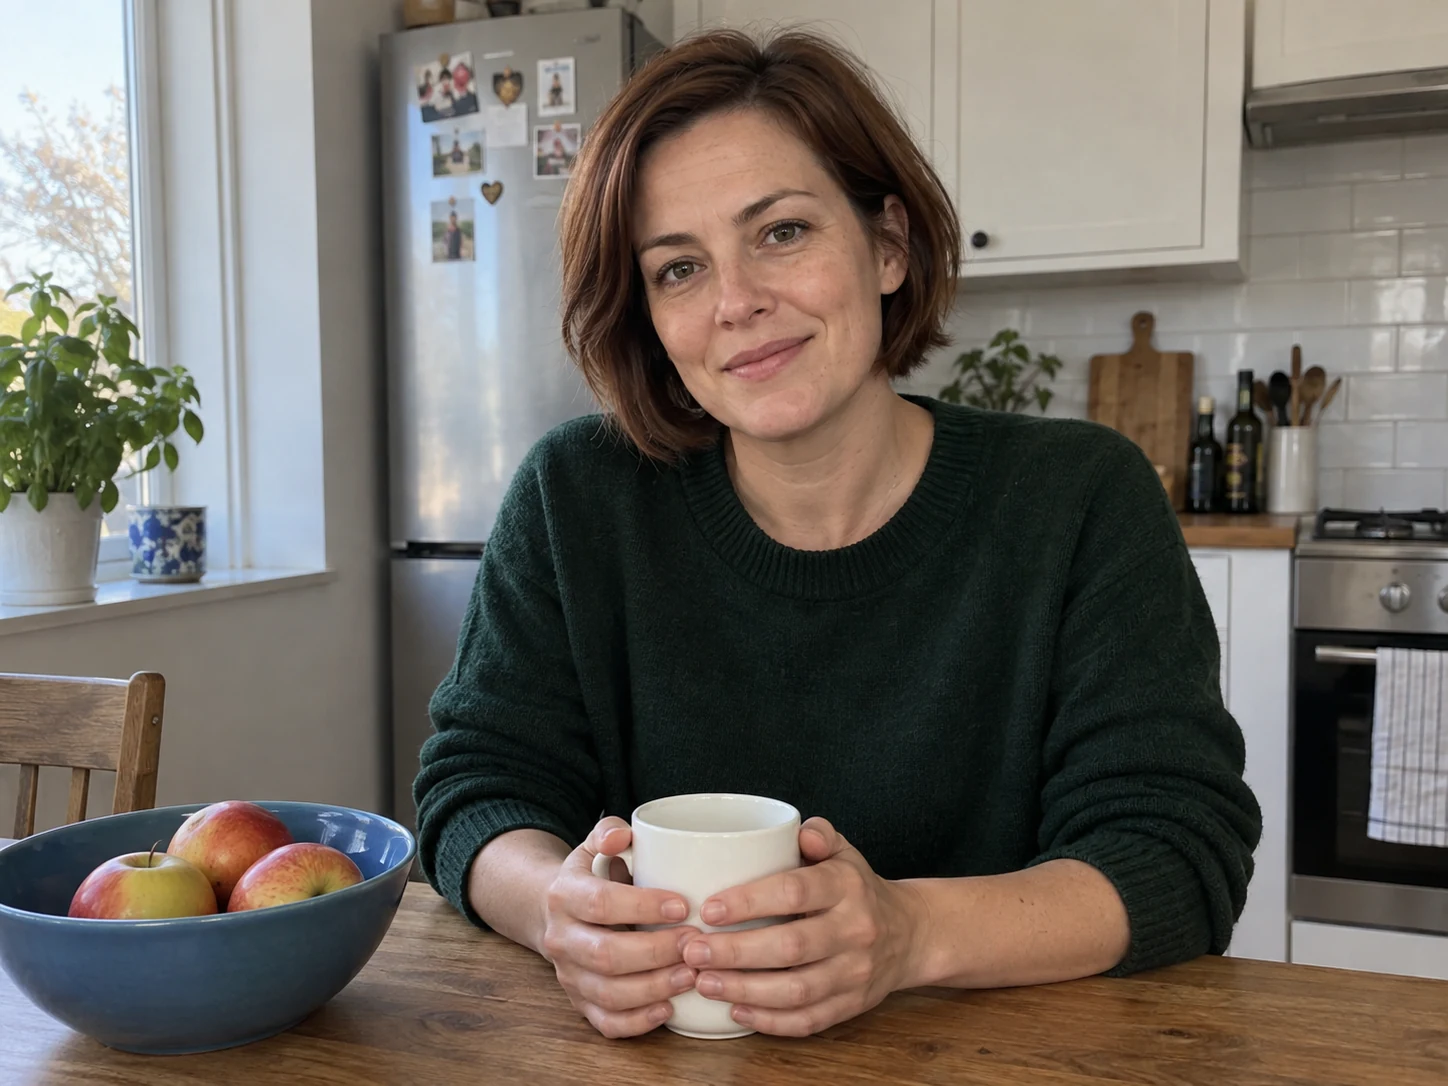
Prompt used to prepare the input image (tested in Polish, a heavily inflected language)
Generate a realistic contemporary reference photo for AI editing test. Fictional adult woman around 35 years old with short chestnut hair, in plain dark green sweater, sitting at wooden table in bright ordinary kitchen. On the table is a white mug and blue bowl with three apples. Visible hands holding the mug. Natural daylight from window on the left, neutral white balance, clear skin texture without retouching. Horizontal frame, from waist up, ordinary phone photo, not a fashion shoot. Without grain, frames, text, watermarks, retro styling and face blur. This is a fictional AI-generated scene, not a photo of a real person.1. White Border Only: Simplest Variant
This prompt was meant to test whether the model can leave the interior of the frame unchanged. The white border appeared, but the interior was regenerated and its proportions are not identical. For framing a documentary photo I would choose a regular editor.
Edit the attached photo. Add only a white border inspired by an instant print: narrow on the sides and top, wider at the bottom. Keep the entire original frame inside the border, without cropping. Do not change the face, age, hands, mug, three apples, lighting, colors or sharpness of the photo. Without text, logos and additional objects.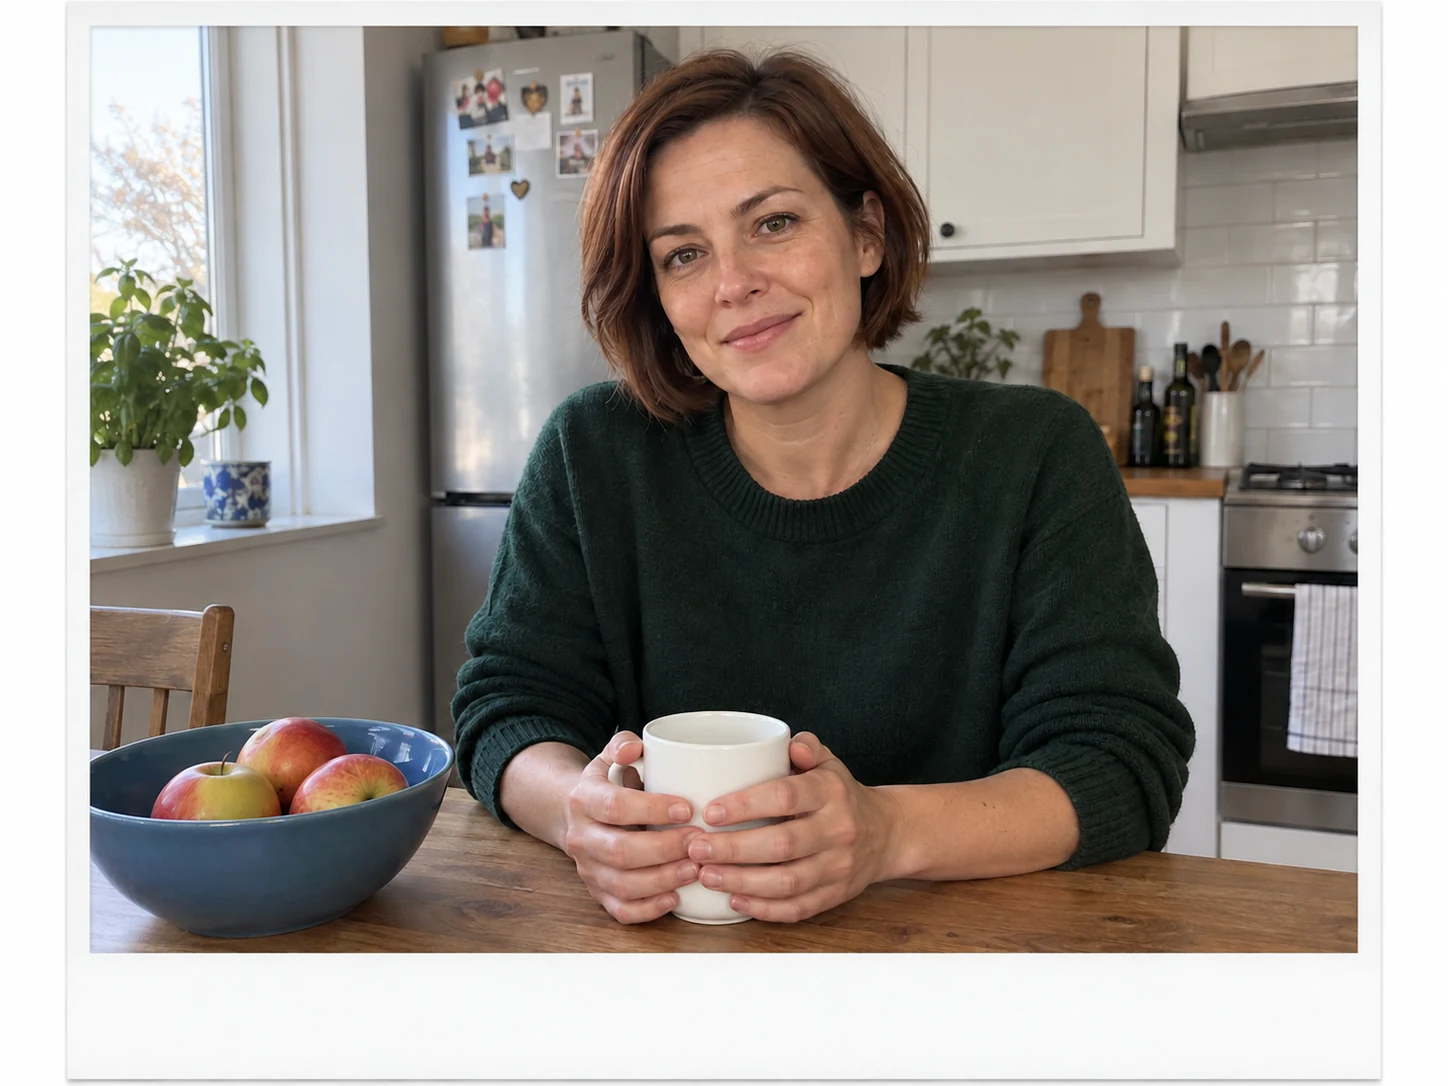
2. Slightly Warm Print Without Orange Skin
Warmth is best described through highlights and saturation, rather than asking generally for an “old photo”. Otherwise you’ll easily get sepia, which you didn’t want at all. Here the border is an addition to the color change.
Edit the attached photo so it looks like a scan of an instant camera print: slightly creamy highlights, calmer saturation, gentle softening of contrast, subtle color unevenness and white border wider at the bottom. Skin should remain natural, without orange cast. Without scratches and stains. Keep the same adult person, their age, face, hairstyle, hands, sweater, white mug, three apples, kitchen and composition. Do not add people, text or logos.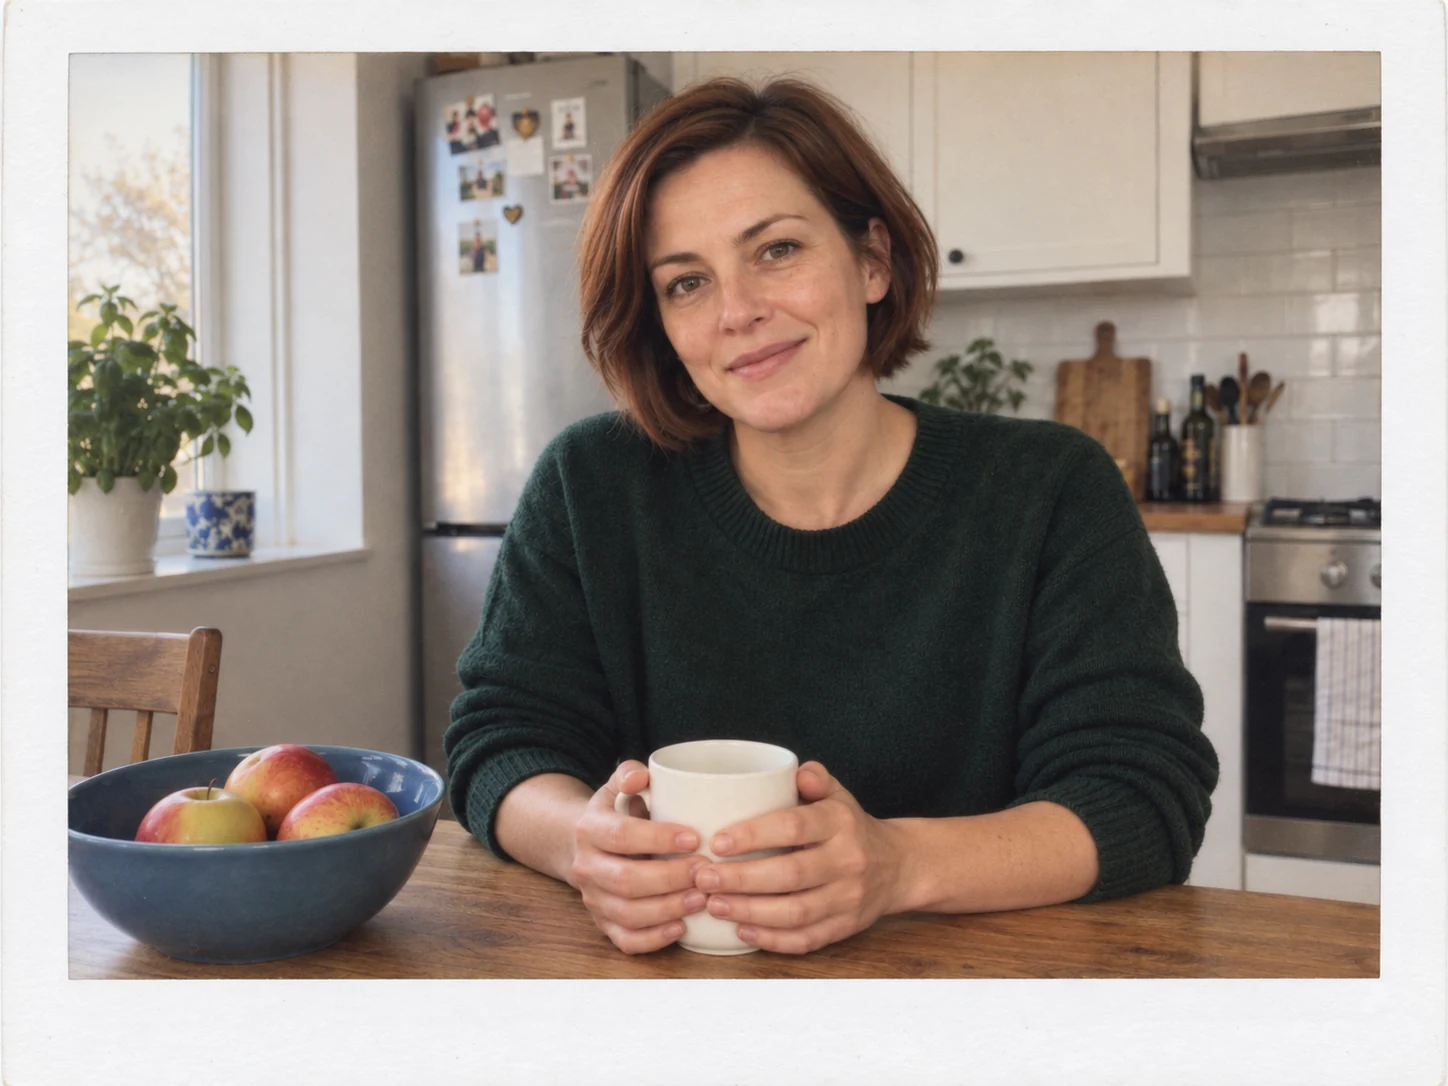
3. Direct Flash Instead of General Darkening
If you want the impression of an instant camera photo with flash, name the light change directly. Simply lowering the brightness of the entire image doesn’t give the same contrast between the person and the interior.
Edit the attached photo in the style of an instant print taken with direct flash. Face lit by frontal flash, more pronounced shadow behind the person, background slightly darker, gently muted colors and white border wider at the bottom. Do not blow out skin to white. Keep the same adult person, their age, face, hairstyle, hands, sweater, white mug, three apples, kitchen and composition. Do not add people, text or logos.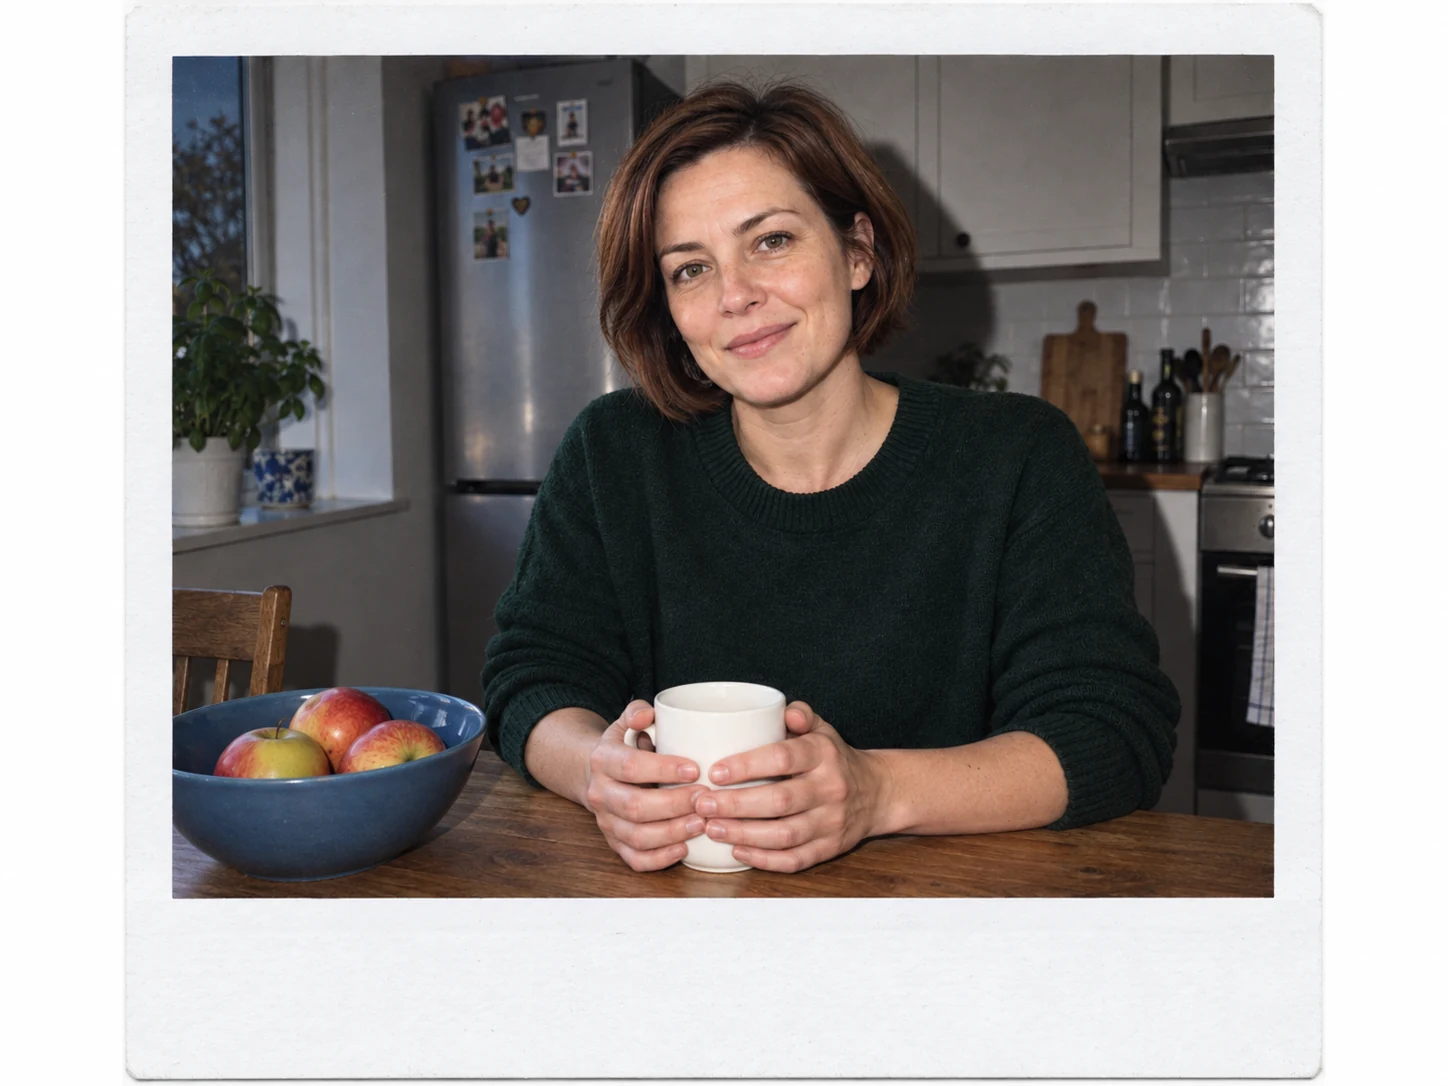
4. Too Much Fading: How Detail Disappears
This result is a deliberately failed direction, not a recommendation. It shows what happens when you simultaneously raise blacks strongly and lower contrast. If your result looks similar, return to the original and use the conservative variant at the end of the guide.
Edit the attached photo as a demonstration of an excessively faded instant print. Very strongly raise blacks, lower saturation and contrast so that loss of detail in bright areas is clearly visible. Add white border wider at the bottom. Do not change anatomy and do not add scratches or stains. Keep the same adult person, age, hairstyle, hands, green sweater, white mug, blue bowl with three apples and kitchen layout. Without additional people, text and logos.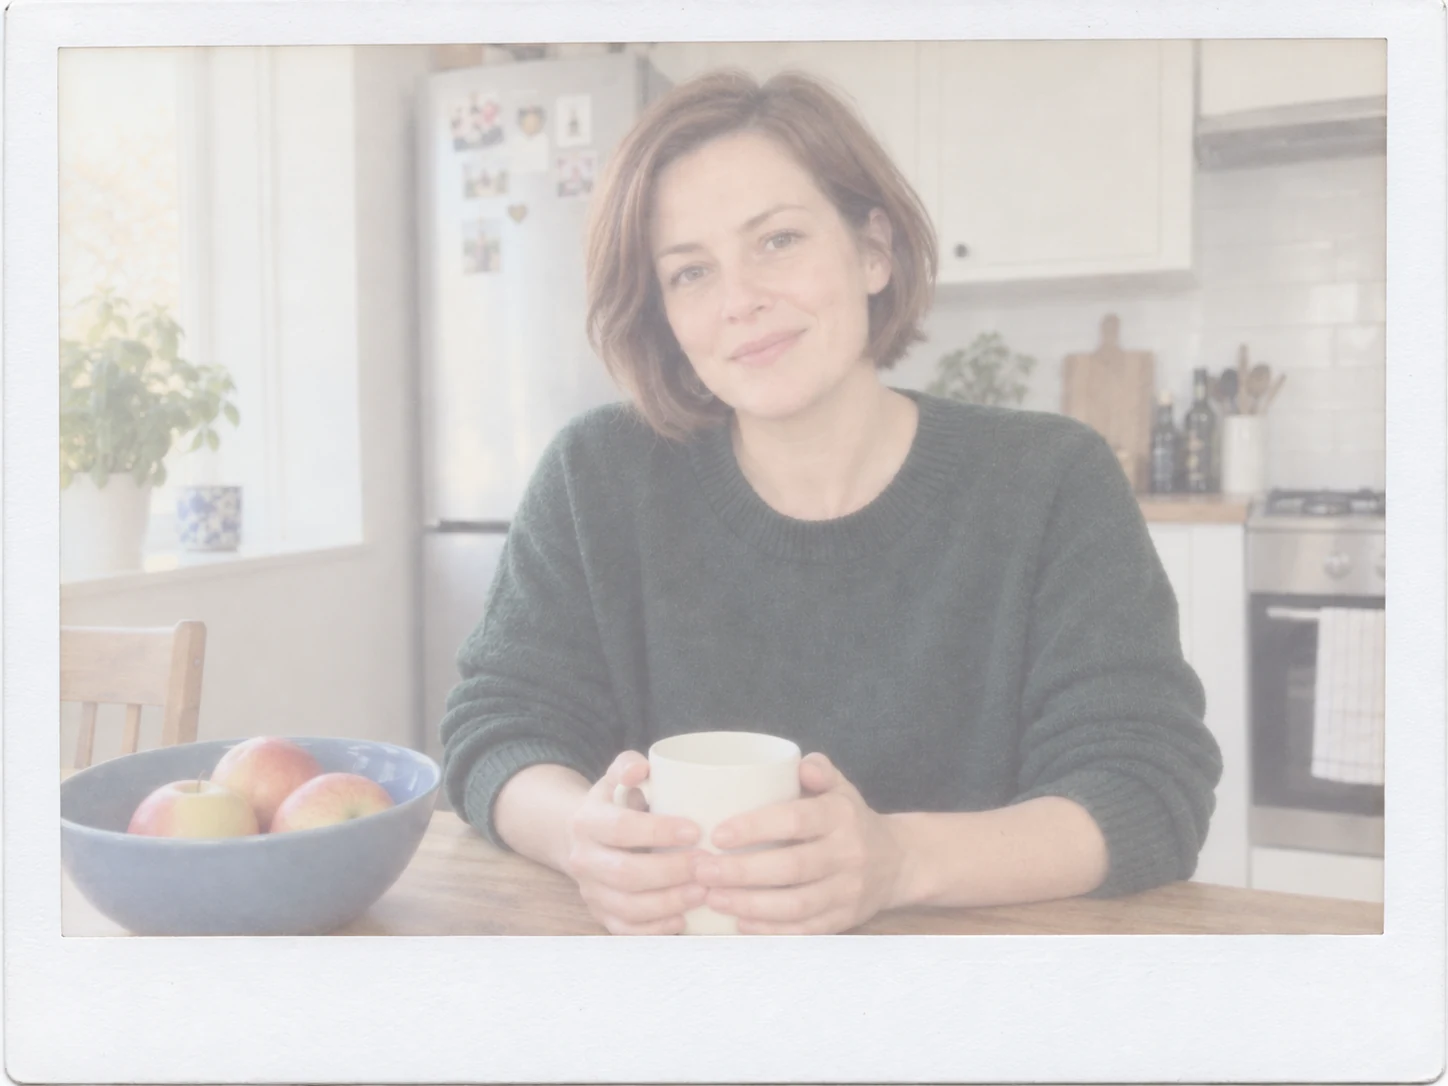
5. Vertical Frame: First Decide What Must Stay
Before changing proportions, name the elements that must stay in the frame. On a portrait with an object these will be not only the eyes and head, but also hands and the entire object. The editor may still rebuild the surroundings despite this.
Edit the attached photo into a vertical instant print. The photo inside the white border has 4:5 proportions; border wider at the bottom. Choose a tighter crop, but keep the entire head, both hands and the entire mug. Gently mute saturation, leave natural light and skin. Without invented limbs and text. Keep the same adult person, age, hairstyle, hands, green sweater, white mug, blue bowl with three apples and kitchen layout. Without additional people, text and logos.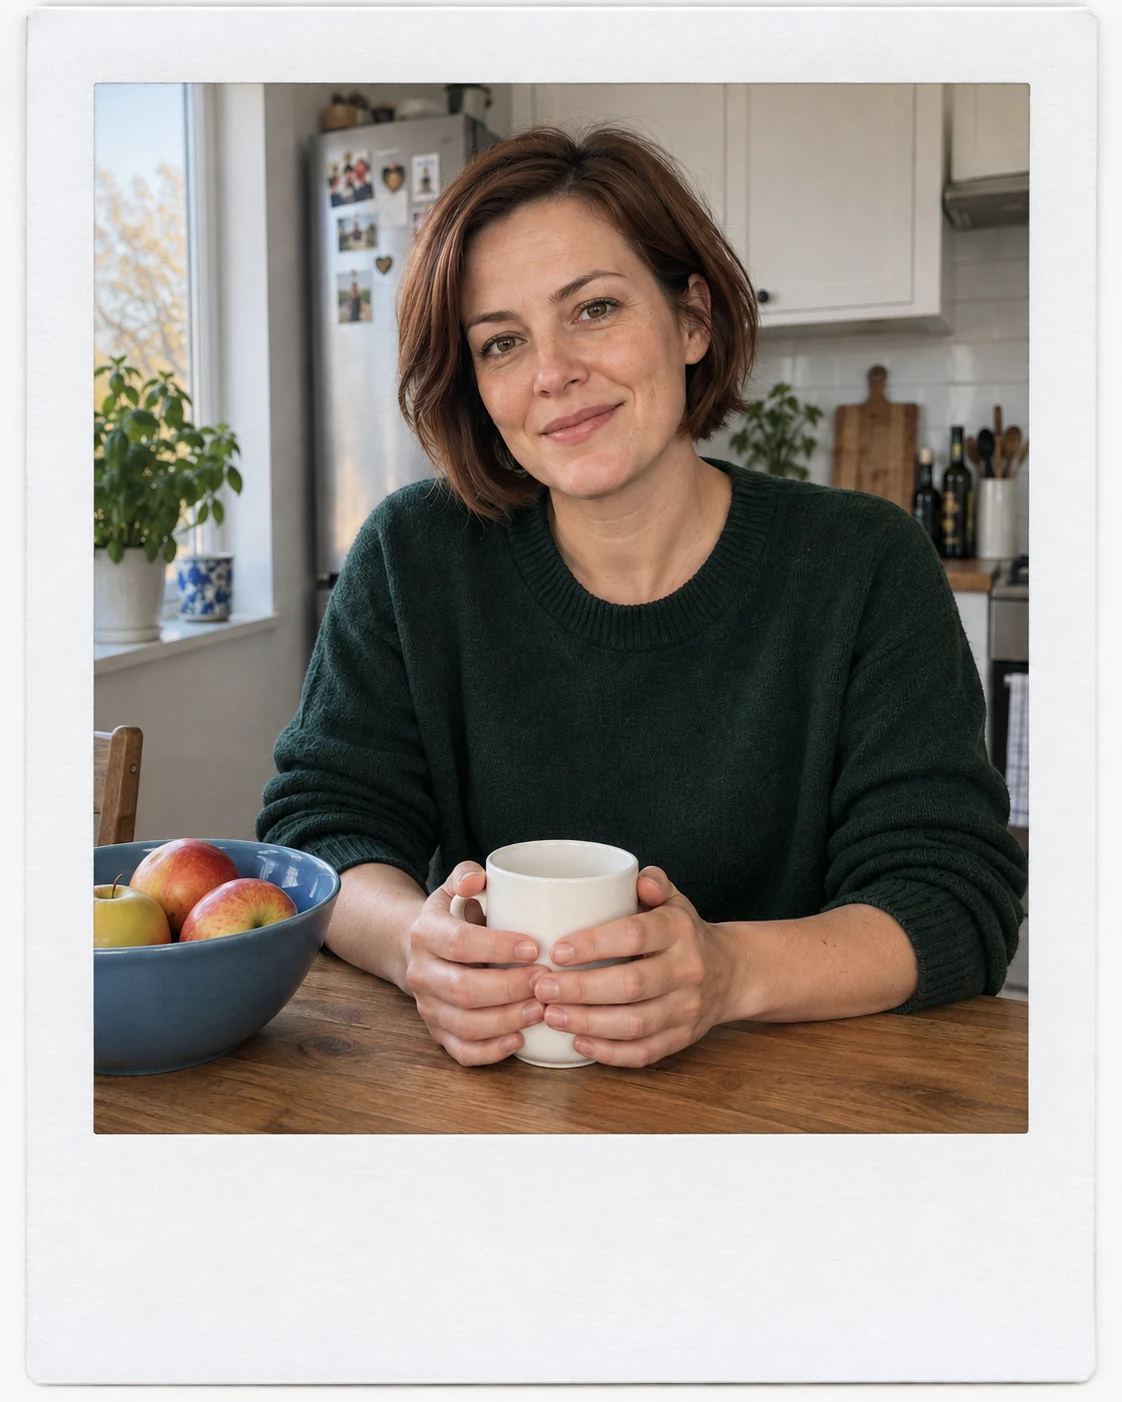
6. Age the Paper, Not the Person
“Old print” can mean worn paper or an older person. Separate these things in the prompt. Here the signs of time should affect the border, not the skin and kitchen decor.
Edit the attached photo as an instant print in white border wider at the bottom. Show slight wear of the paper border itself: gently creamy edges and small bend in the bottom corner. Inside keep neutral colors and readable details. Do not age the person, do not add wrinkles, do not redraw the face and do not replace the background with a period interior. Keep the person, their age, hairstyle, hands, mug, bowl with three apples, clothing and kitchen layout. Without new people, text and logos.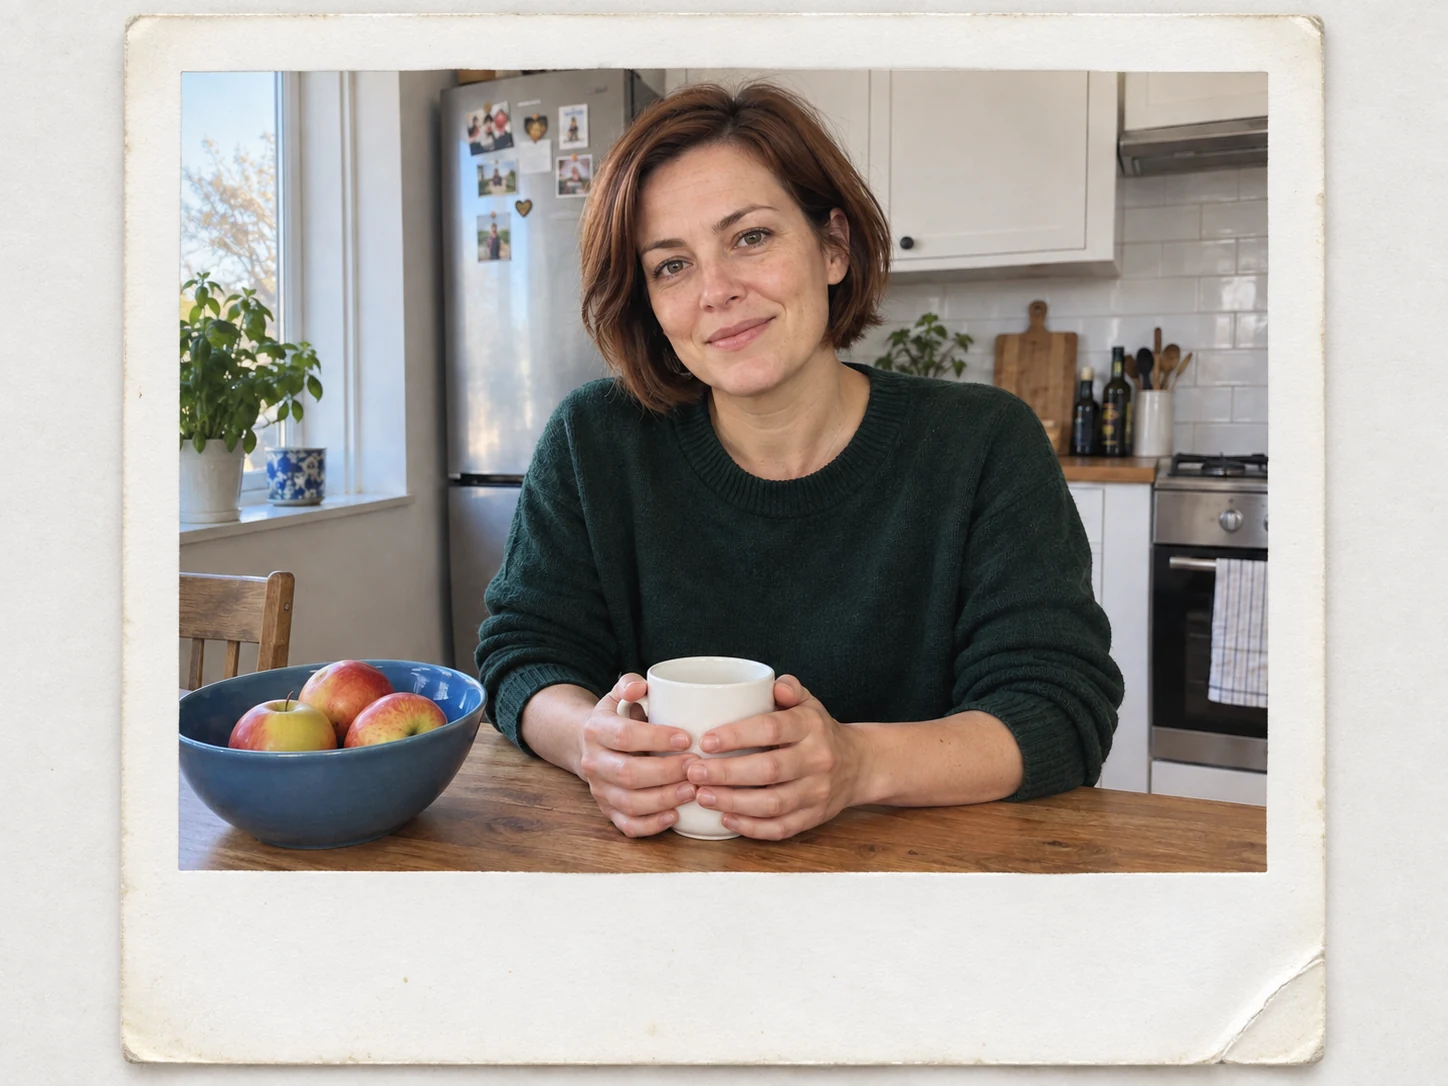
7. Conservative Polaroid Effect for Everyday Photos
I would start my own tests with this variant. It doesn’t require scratches, stains or major lighting changes. If the result is too strong, reduce only one component: saturation, highlight softness or the border. Don’t add several new effects at once.
Edit the attached photo into a subtle instant print. White border wider at the bottom, slightly calmer saturation and gently soft highlights. Keep readable dark green sweater, natural skin tone, white mug and hand details. No milky fog, sepia, aggressive flash, scratches or stains. Keep horizontal composition and all objects in frame. Keep the person, their age, hairstyle, hands, mug, bowl with three apples, clothing and kitchen layout. Without new people, text and logos.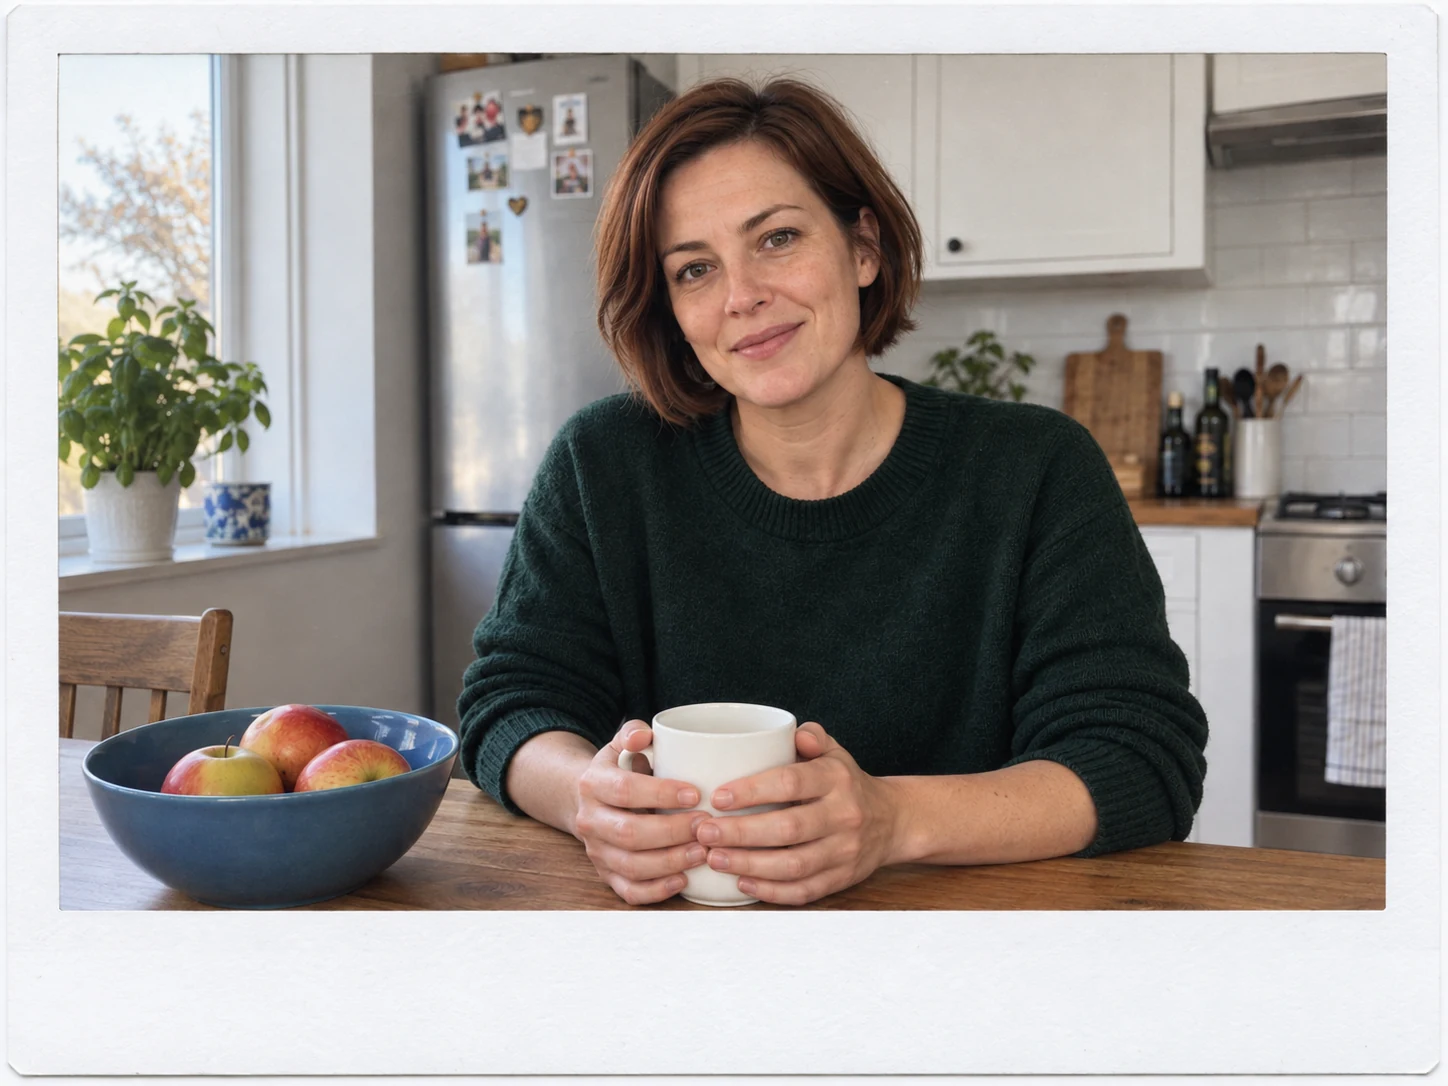
Border, Print Style or Period Photo?
These are three different tasks. A border changes the photo’s surroundings. Print style changes colors, contrast or light. Transfer to a period can change clothes, interior and props. If you want precisely this third effect, a separate guide shows photos in 80s style. Don’t add a decade to the prompt when you only want a white print border.
For subtle grain without a border, film effect on photos is a better fit. In both cases keep the original, especially when working on the only scan of a family photograph.
Google · Your sourcesQuantslant higher in your Google - one clickAdd to preferred sources →Frequently Asked Questions
How do you turn a photo into a Polaroid?
Add the photo to an image editor and choose whether you need only the border or also a change in the print’s appearance. For the second task you can paste variant 7. Describe your own objects and check face match after generation. The digital file itself doesn’t become a real instant print.
How do you develop photos like a Polaroid?
If you have a file from your phone, this is about printing in that layout, not developing film from a camera. Prepare a design with a border and check proportions and crop area at your chosen print shop. This guide tests digital appearance; we haven’t tested print service quality here.
What is Polaroid?
Polaroid is a brand name associated with instant photography. In casual queries about the Polaroid effect, people usually mean the look of such a print and the characteristic border. The illustrations generated here are inspired styling, without logos and without declaring execution with a specific camera.

More on this from QUANTSLANT
 guides·Film Grain Effect in AI: 35mm Look & 7 TestsWe asked AI for color negative film and got a blue face. Ready prompts, test results, fine and coarse grain, light leaks, and fixing the color inversion error.