90s Photo Filter: How to Create a Vintage Photo Effect
A 90s photo filter makes sense when you want to change how a photo looks while keeping the same scene. See how to get the old print effect right.
👁 117 reads
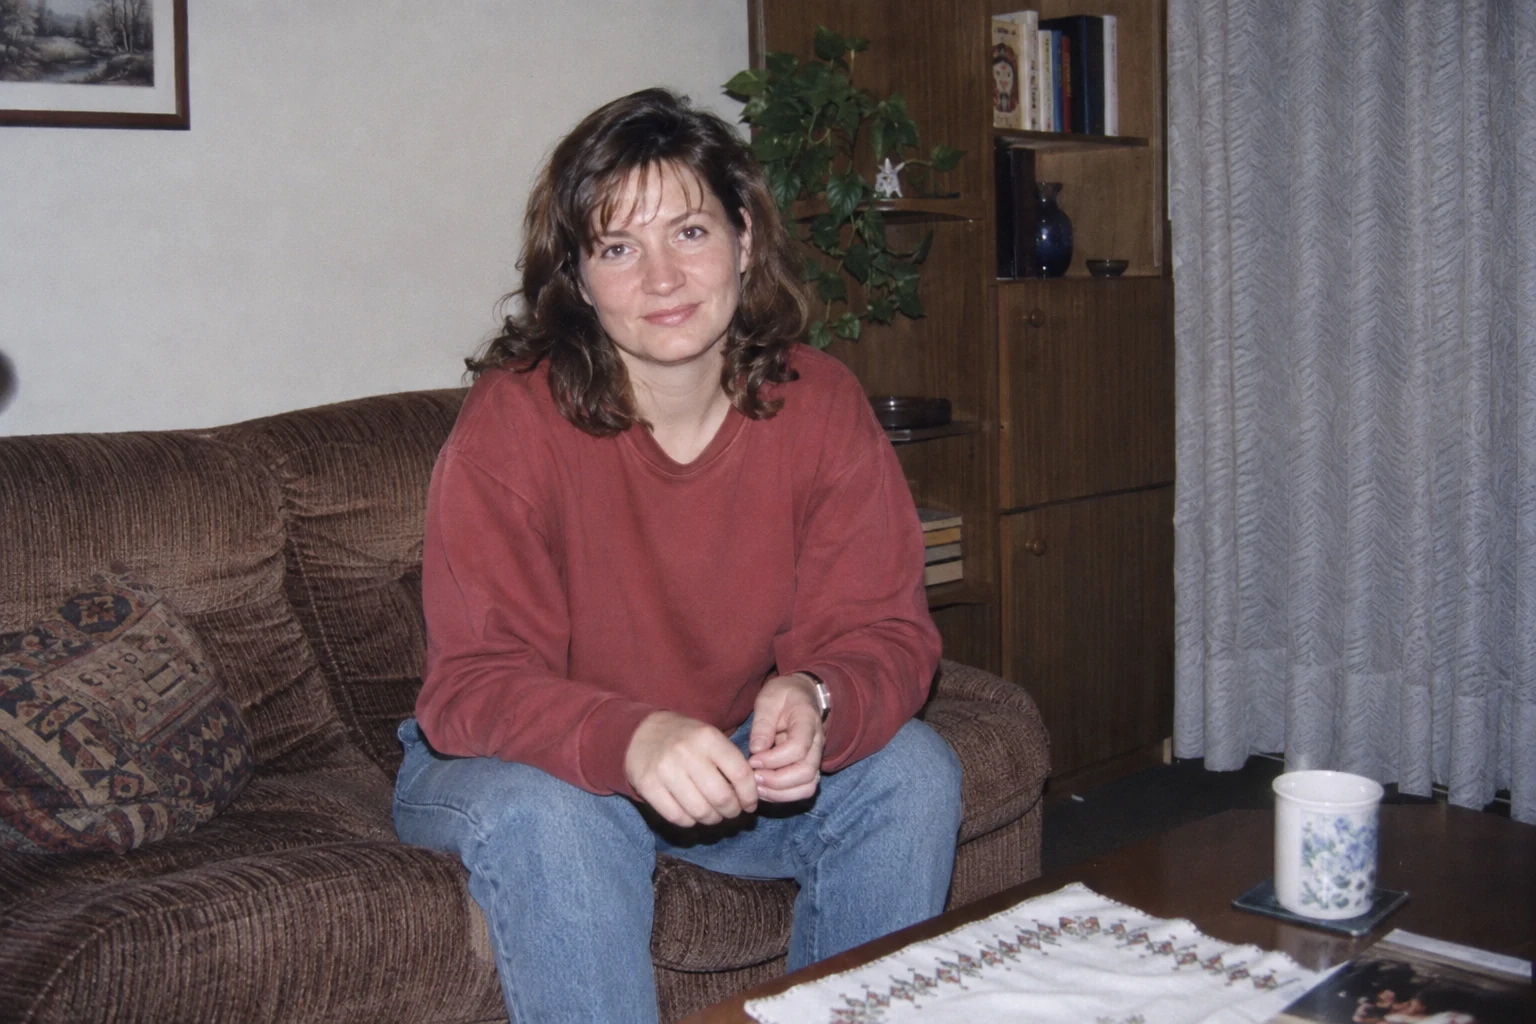
A 90s photo filter makes sense when you want to change how a photo looks while keeping the same scene. Softer colors, less sharp edges, and gentle texture can be enough for a simple portrait. If you want to replace a modern kitchen, clothing, or phone on the table, a color filter alone won’t do it. That requires separate editing, perhaps generative.
We’re choosing the home print from a compact camera effect here: a readable face, flat light, and everyday surroundings. Not every photograph from the nineties looked this way. This is a specific convention you can consciously recreate, without sepia on everything and without pretending it’s a found archival photo.
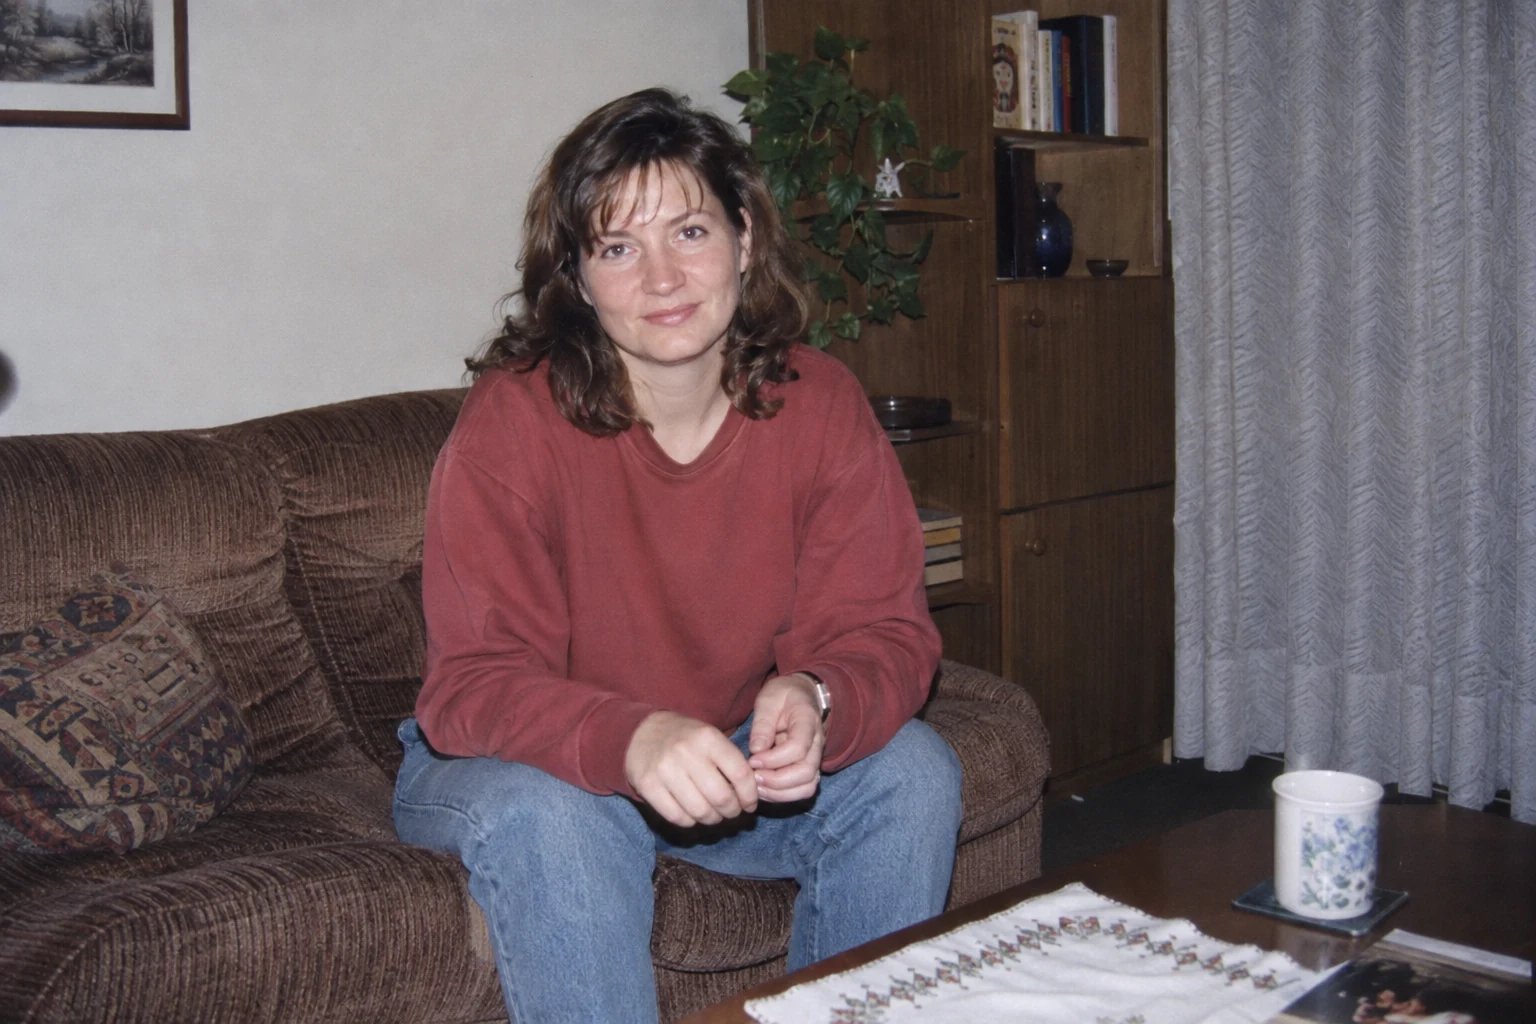
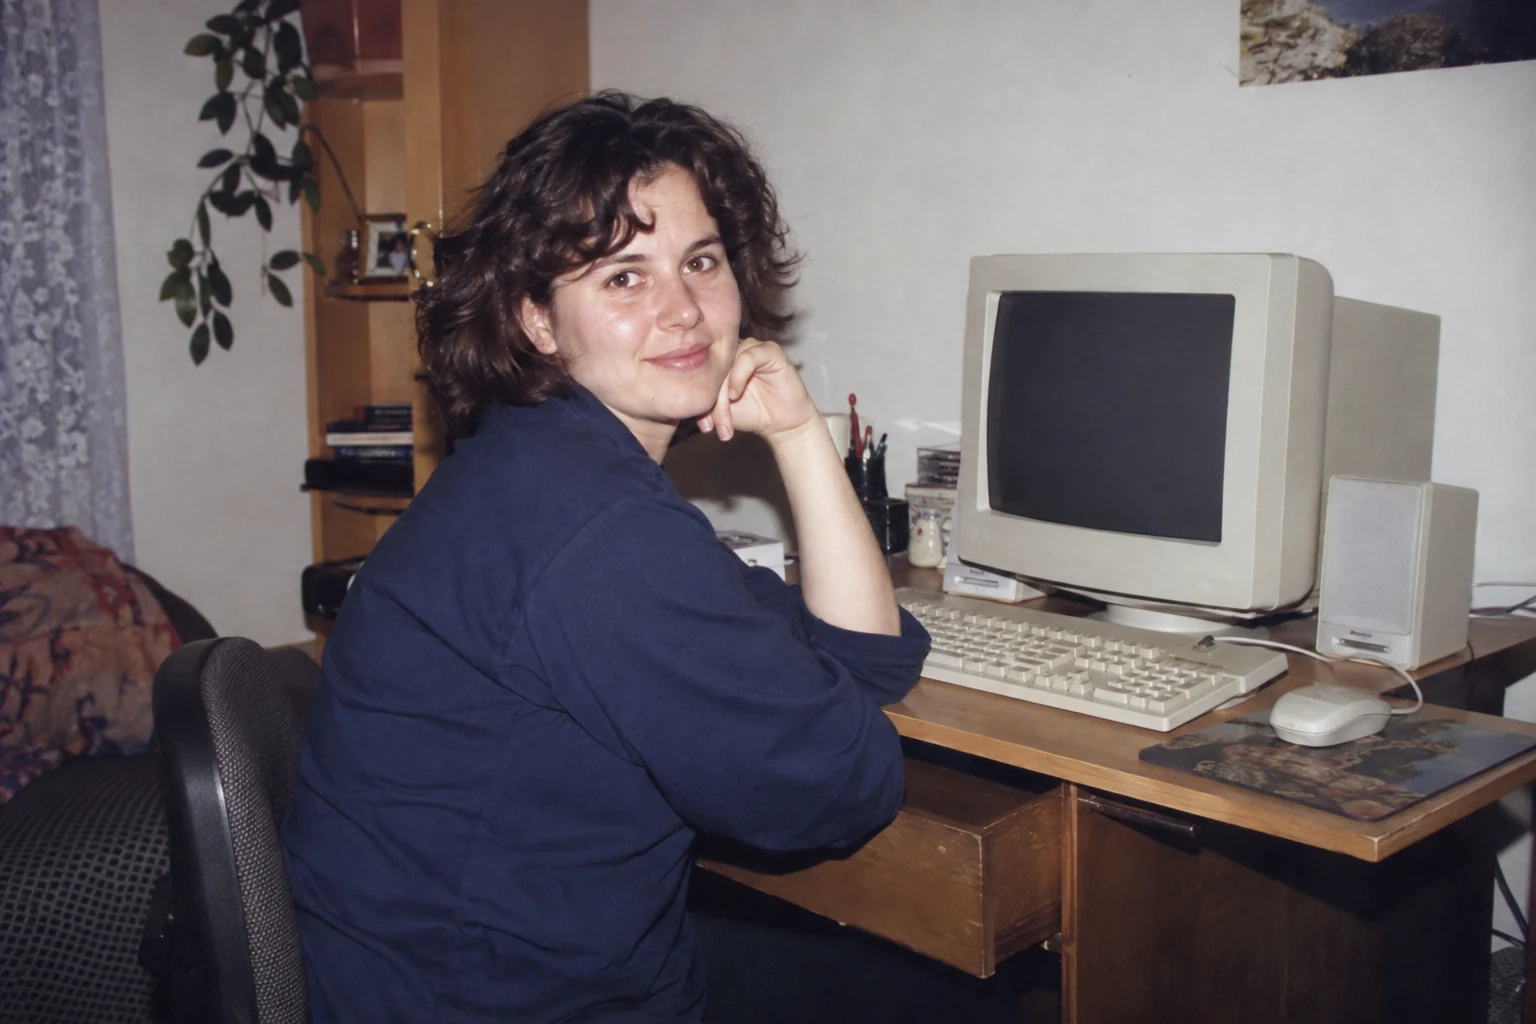
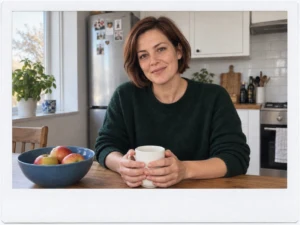
The eight frames below are illustrations generated in Codex, showing fictional people. They demonstrate selected image characteristics. They are not results from testing filters in apps, nor before-and-after pairs.
90s Photo Filter vs. AI Remake: What Actually Changes
Under the name “filter,” an app can hide either a set of color corrections or a tool that rebuilds the image. That’s why we look at the result, not just the label on the button. In this guide, by filter we mean a simple finishing correction: colors, contrast, and possibly texture.
| I want to achieve | I start with | I check |
|---|---|---|
| Softer color and print look | Filter or manual correction | Whether skin doesn’t turn orange and face remains readable |
| Different sweater, room, or prop | Editing selected element, possibly AI | Whether beyond the indicated change, features and hands haven’t changed |
| Preserve real moment and all objects | Non-generative correction tools | Whether I haven’t enabled face retouching or element removal |
| Fictional scene from another decade | AI remake with reference photo | Person’s likeness, scene consistency, and stylization label |
Color correction won’t turn a flat monitor into a CRT. It won’t change clothing cut either. If these things reveal contemporaneity, decide whether you really want to replace them. A photo can have analog finishing and still represent today.
How to Create a Vintage Photo Effect on Your Phone
We start with a copy of the original. Open it in a photo editor, turn off previous beautification, and choose one direction of processing. Don’t apply several ready-made effects in sequence, because later it’s hard to determine which one ruined the skin or shadows.
- Set the crop. Leave breathing room above the head and check the edges. If an unnecessary modern object fits at the edge, sometimes a small crop is enough. Don’t cut off hands just to remove a phone from the table.
- Correct brightness. The face should be readable. Don’t darken the whole photo to make it “old.” If a white shirt loses texture, reduce brightening or limit highlights.
- Choose a calm color filter. If the editor allows, reduce its strength. Compare cheeks, white wall, and gray clothing with the original. All three shouldn’t get the same orange glow.
- Adjust contrast and saturation. Lower them only if the photo looks too aggressive. Matte black is not mandatory. If hair merges with background or face becomes gray, go back a step.
- Add texture at the end. If the tool has grain, use it sparingly and view eyes at magnification. When this function isn’t available, skip it. Don’t replace grain with blurring the entire portrait.
- Save a separate file. Compare the finished version with the original side by side. Keep the one that preserves the person and readability, even if it has less visible effect.
We’re not giving one set of slider values. A photo from a kitchen window, evening portrait with flash, and overcast outdoor shot have different starting points. The same settings can calm one frame and strip another of color.

Where to Find a Filter on iPhone and Android
On iPhone, start with the Photos app: open a photo, select edit, and check filters and brightness and color corrections. Apple also describes adjusting filter strength and undoing edits. You don’t need an account in an AI generator for such basic correction. Current support is shown in the Photos app instructions.
On Android, you can start with the editor in the manufacturer’s gallery or Google Photos. In Google Photos, open an image and edit, then filters or manual adjustment. Available functions and layout depend on device and app version. Google Help describes selecting a filter and changing its strength. We don’t equate these simple corrections with every AI function offered in the same app.
We’re not necessarily looking for a button named “1997.” We start assessment with natural face color. If you want to replace the scene through AI, you’ll find instructions for logging in, adding a photo, and corrections in the guide for free 90s-style photos on your phone.

When a Filter Is Enough
It’s easiest to start with a photo whose content already fits the intended look: person at an ordinary table, simple shirt, wall without screens, and light from a window. You don’t then need to correct the era in every corner of the frame. Gentle finishing is enough, and the real gesture and facial expression remain.
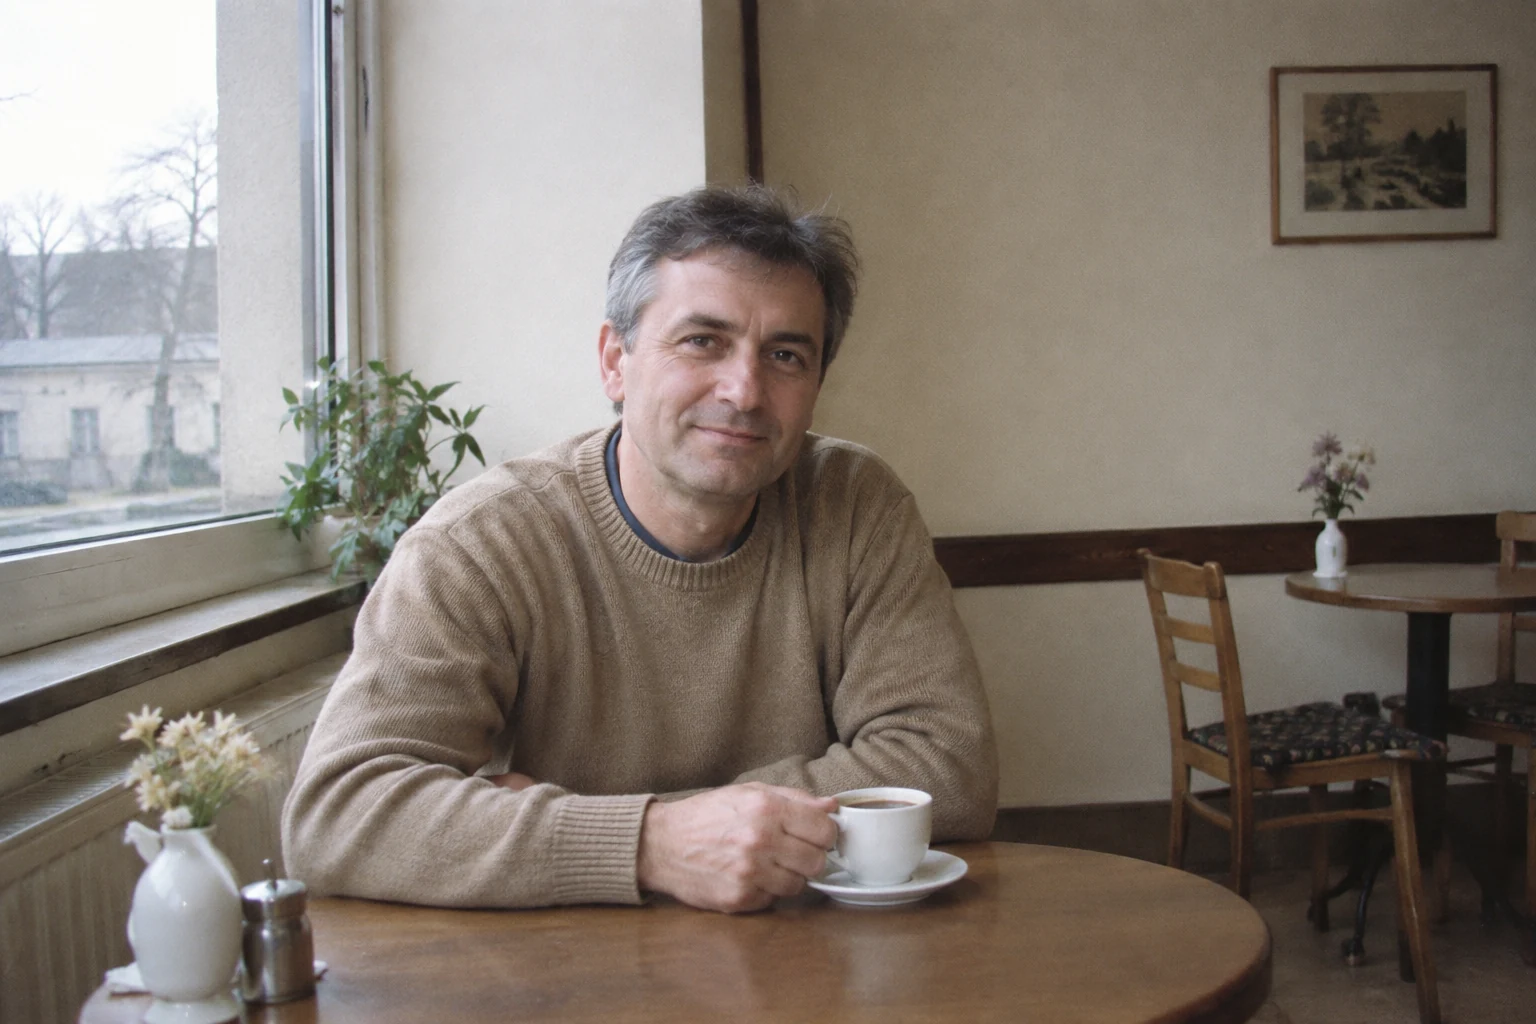
For example, in a frame at a cafe table, the impression of everydayness is determined by calm light, an ordinary cup, and lack of advertising pose. We don’t need to cover this with a vignette. If the original photo has similar characteristics, we’d first try simple correction before having a generator recreate the entire face.
When 90s Effect Requires Scene Change
A modern screen, characteristic contemporary gadget, or designer interior will remain visible after applying a filter. You can accept this as today’s photo with analog finishing. If the goal is a fictional 90s scene, name the specific change in AI editing.
We don’t immediately order “everything retro.” In the record store example, what matters is the CD case, shelves, and ordinary shirt. With our own remake, we’d check the case grip separately and whether the generator replaced the face. Colorful texture doesn’t fix incorrect anatomy.
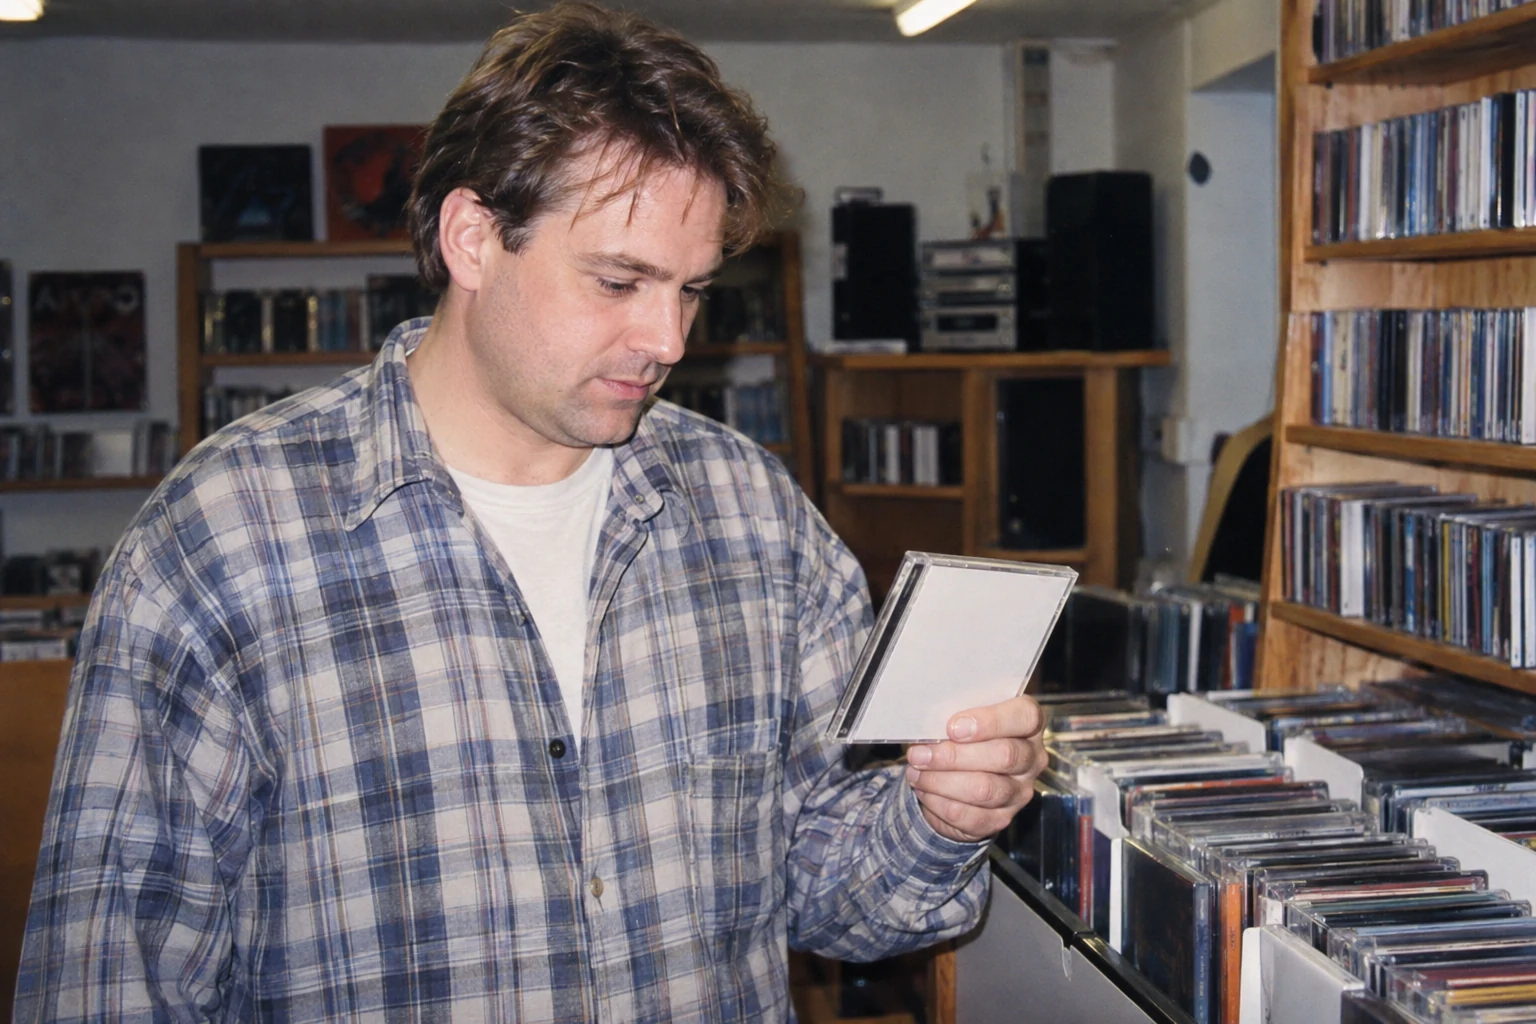
The full prompt that separates person’s appearance, place, and photography method is in the 90s-style photos guide. Here the decision is simpler: if you want to preserve photo content, start with correction. If you want to change it, name exactly the scope of editing.
90s Photo Effect: Light More Important Than Amount of Grain
In this convention, ordinary, readable lighting works well. An overcast day doesn’t need purple fog. A balcony portrait can remain bright, with visible plants and apartment blocks in the background. You don’t need to make it a night frame just because it’s supposed to resemble an old print.
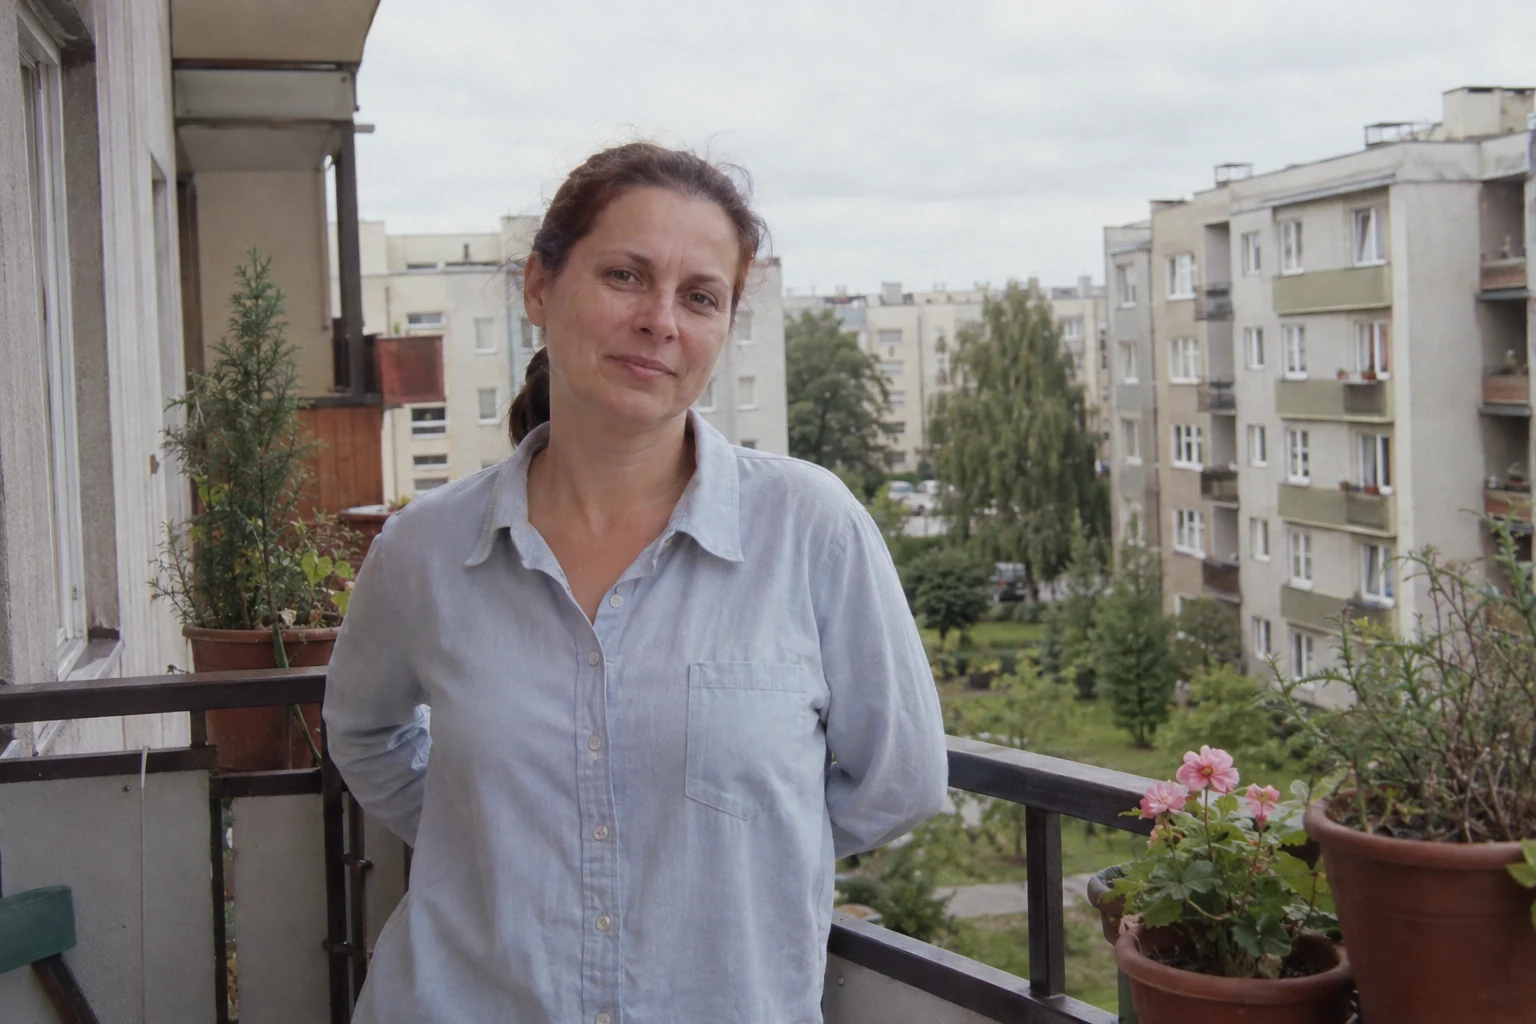
With a new photo, you can make later processing easier: choose simple surroundings and soft daylight, and look at the background before taking the photo. With an existing photograph, match the effect to the existing light. Strong shadow brightening won’t automatically recreate the natural flash of a compact camera.
Old Print Without Pretending Authentic Archive
Photo appearance and paper wear are two separate things. A color photo from the 90s didn’t have to be brown, scratched, or have burned corners. Damage can be a visual choice, but isn’t a condition of recognizable stylization.
When we publish a fictional scene, we label it as stylization or AI illustration. We don’t add a made-up date of a family event to it. If we’re processing a real contemporary photo, we can simply write “contemporary photograph with color print effect.” We don’t need to pretend the person stood in this place thirty years ago.
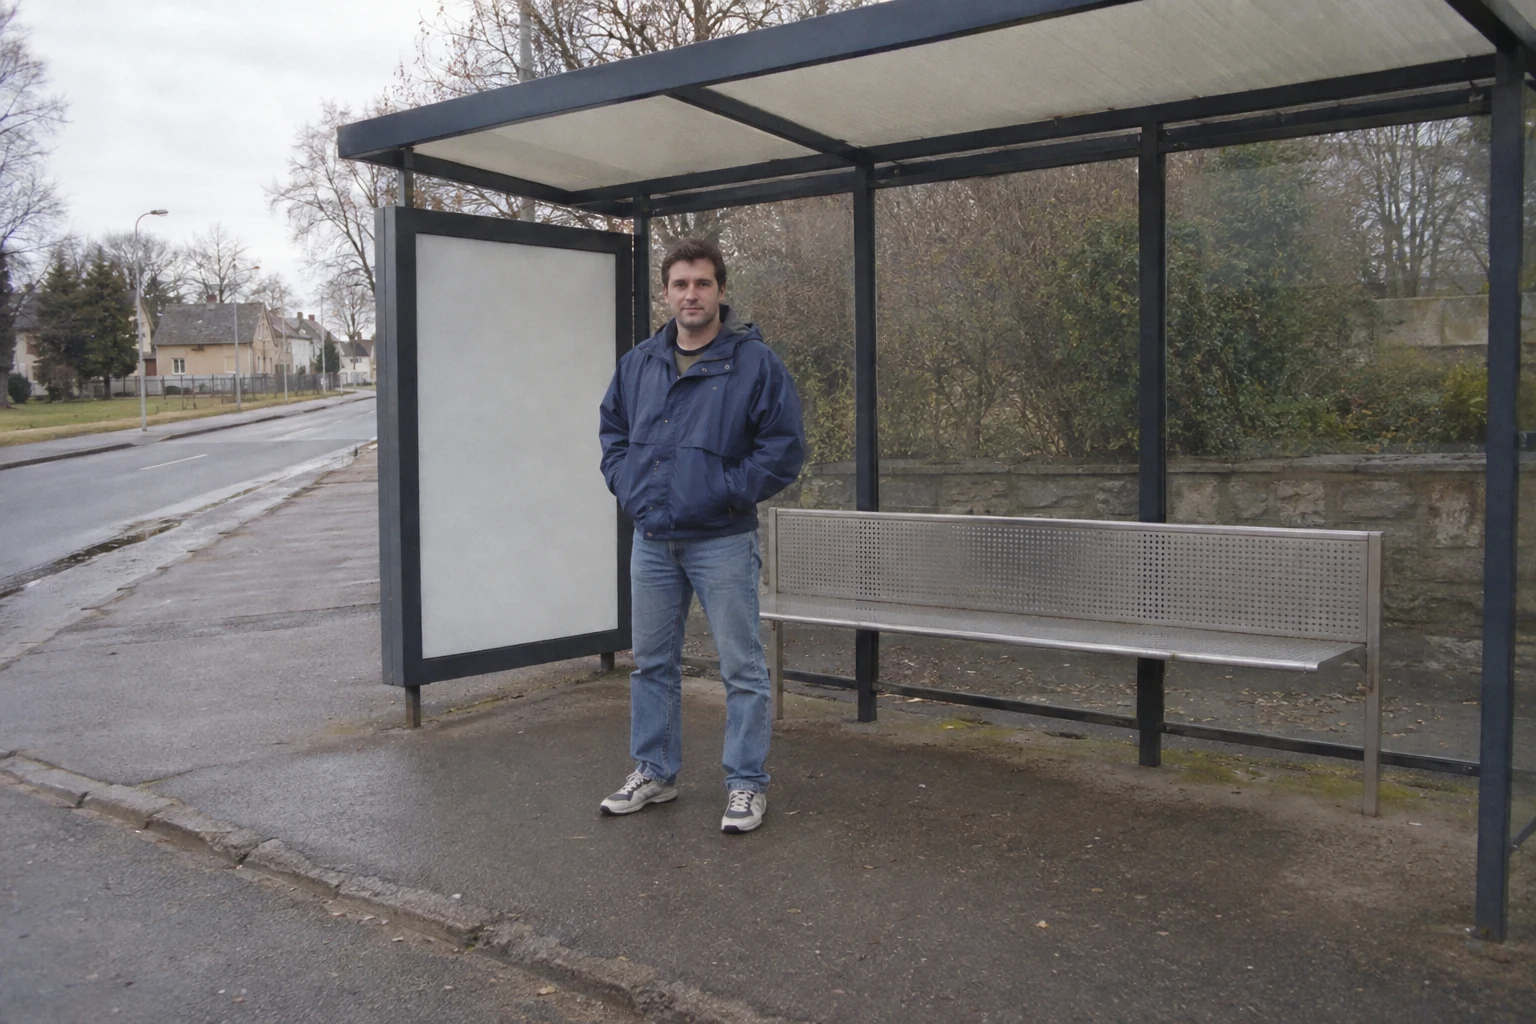
Three Fixes When Filter Looks Too Strong
Orange face: weaken the filter and check color temperature. Let the reference point be skin from the original, not the color of wooden furniture in the background.
Dirty blotches instead of grain: reduce texture or turn it off completely. Eye and mouth details should remain readable. A small thumbnail can hide the problem, so also view a larger preview.
Everything became gray: restore some contrast and color. An ordinary color print is still a color photo. You don’t need to drain its life to achieve a calmer character.
Keep the original and one successful variant. If after turning off the effect you like the person and light better, reduce the processing. The photograph should work, not just the filter.

More on this from QUANTSLANT



 guides·How to Turn Off Meta AI: Mute and Chat Privacy OptionsWe separate muting Meta AI on Facebook from advanced chat privacy in WhatsApp. Here are the confirmed settings and their actual scope.