AI Photo Editing: Change One Thing - 3 Tests
Changing just the shirt color sounds simple. In practice, AI generators can redraw the material, face or background. Three local edits with prompts.

👁 114 reads
“Change only the color” sounds like a simple task. In practice, the generator can fix the indicated element and accidentally redraw the material, face or background. It’s easy to miss when your eye focuses only on the new color.
We prepared three local editing tests: a shirt, a mug and the weight on a label. For each example we show the input, the result and the full prompt. All base materials are AI-generated images.
How to Write a Prompt for a Single Change
A good prompt names the object, its current state and the target appearance. “Change the white mug to brick red” is more precise than “add a red accent.” The second sentence lets the model choose any location.
Next, specify protected features. For shirt color, these will be seams, folds and cut; for text - font, letter size and the rest of the label. It’s not enough to add a general “no other changes” if the change itself is unclear.
How We Compare Results
We evaluate two things separately: whether the indicated task was performed and whether visible side changes appeared. A successful text swap doesn’t yet say anything about preserving the entire bag.
The evaluation below is a visual comparison of these specific images. It does not mean pixel identity outside the edited fragment or guarantee the same result with a different photo.
1. Changing Shirt Color
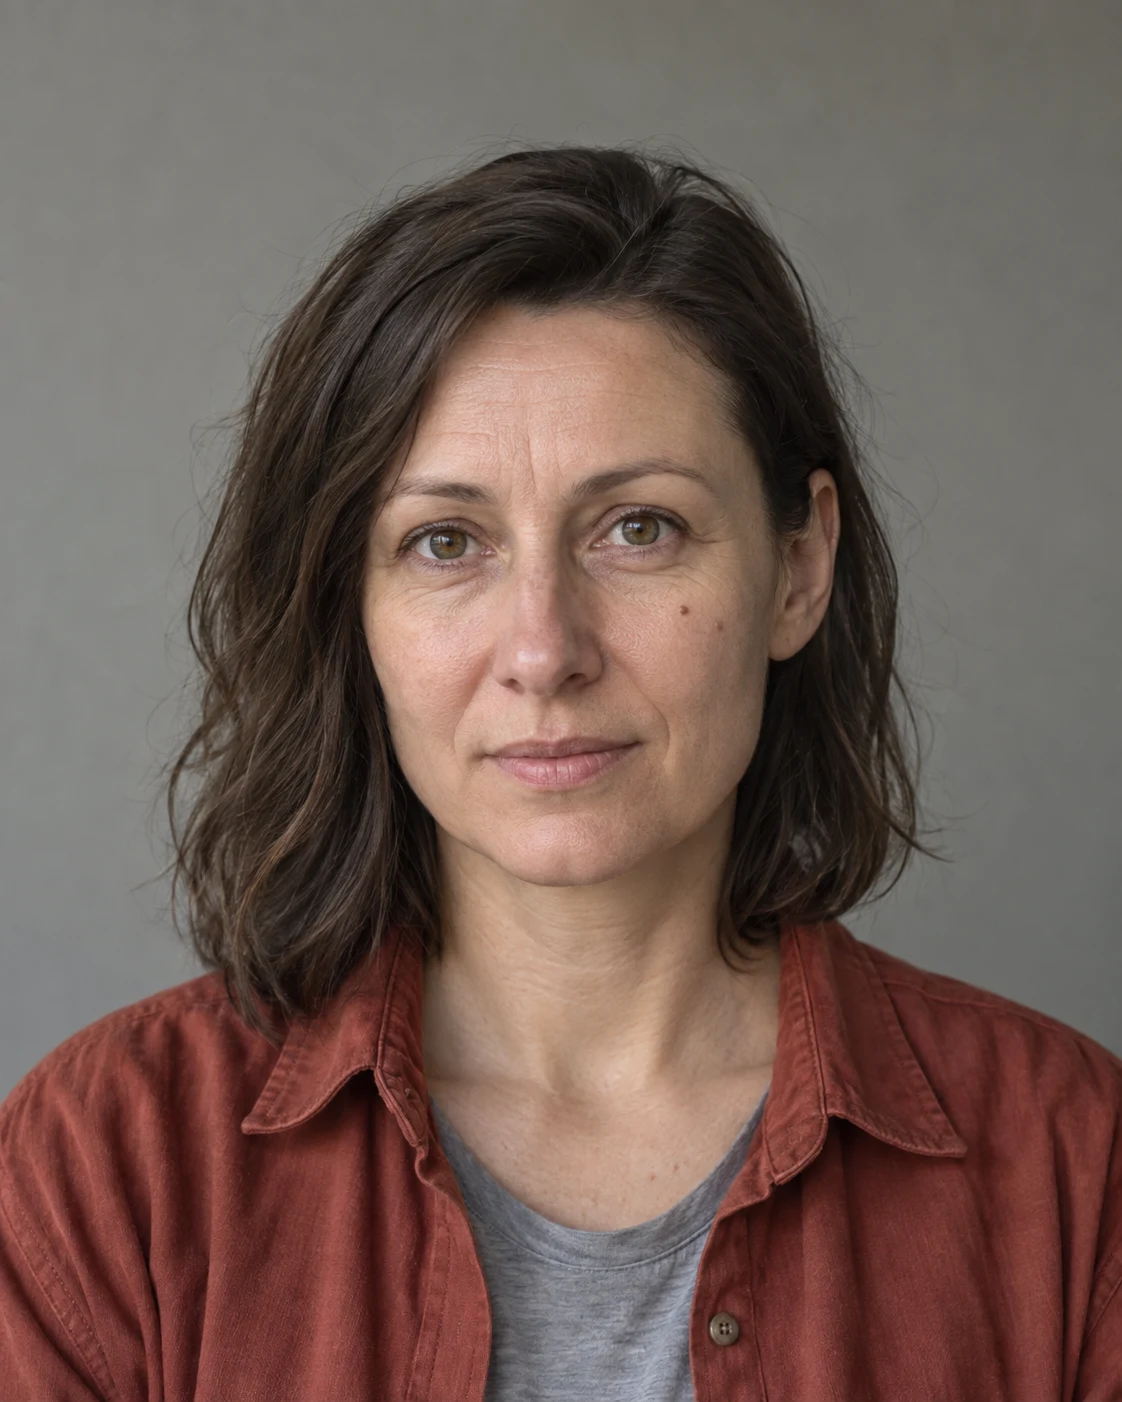
Prompt to copy:
Edit only the color of the rust-colored shirt in the attached portrait: change it to muted navy. Preserve all folds, seams, buttons, fabric brightness and cut. Do not change the gray T-shirt, face, hair, expression, moles, skin, background, lighting or framing. Same vertical 4:5 format, no retouching and no text.

The shirt has a muted navy color. The gray T-shirt, face and general hair arrangement remain very close to the input. It’s especially worth comparing the collar seams and the course of fabric folds.
2. Changing Mug Color

Prompt to copy:
Change only the color of the small white mug on the table to matte brick red. Preserve size, position, mug handle, shadow, reflections and perspective. The entire rest of the room must remain unchanged: furniture, window, door, lighting, camera. Same horizontal 16:9 format. No other changes.

The mug changed color to brick red and remained in the same area of the tabletop. The window, sofa, door and lamp look very similar to the base material. The small size of the object requires zooming in for careful control of the handle and edges.
3. Changing Text on a Label
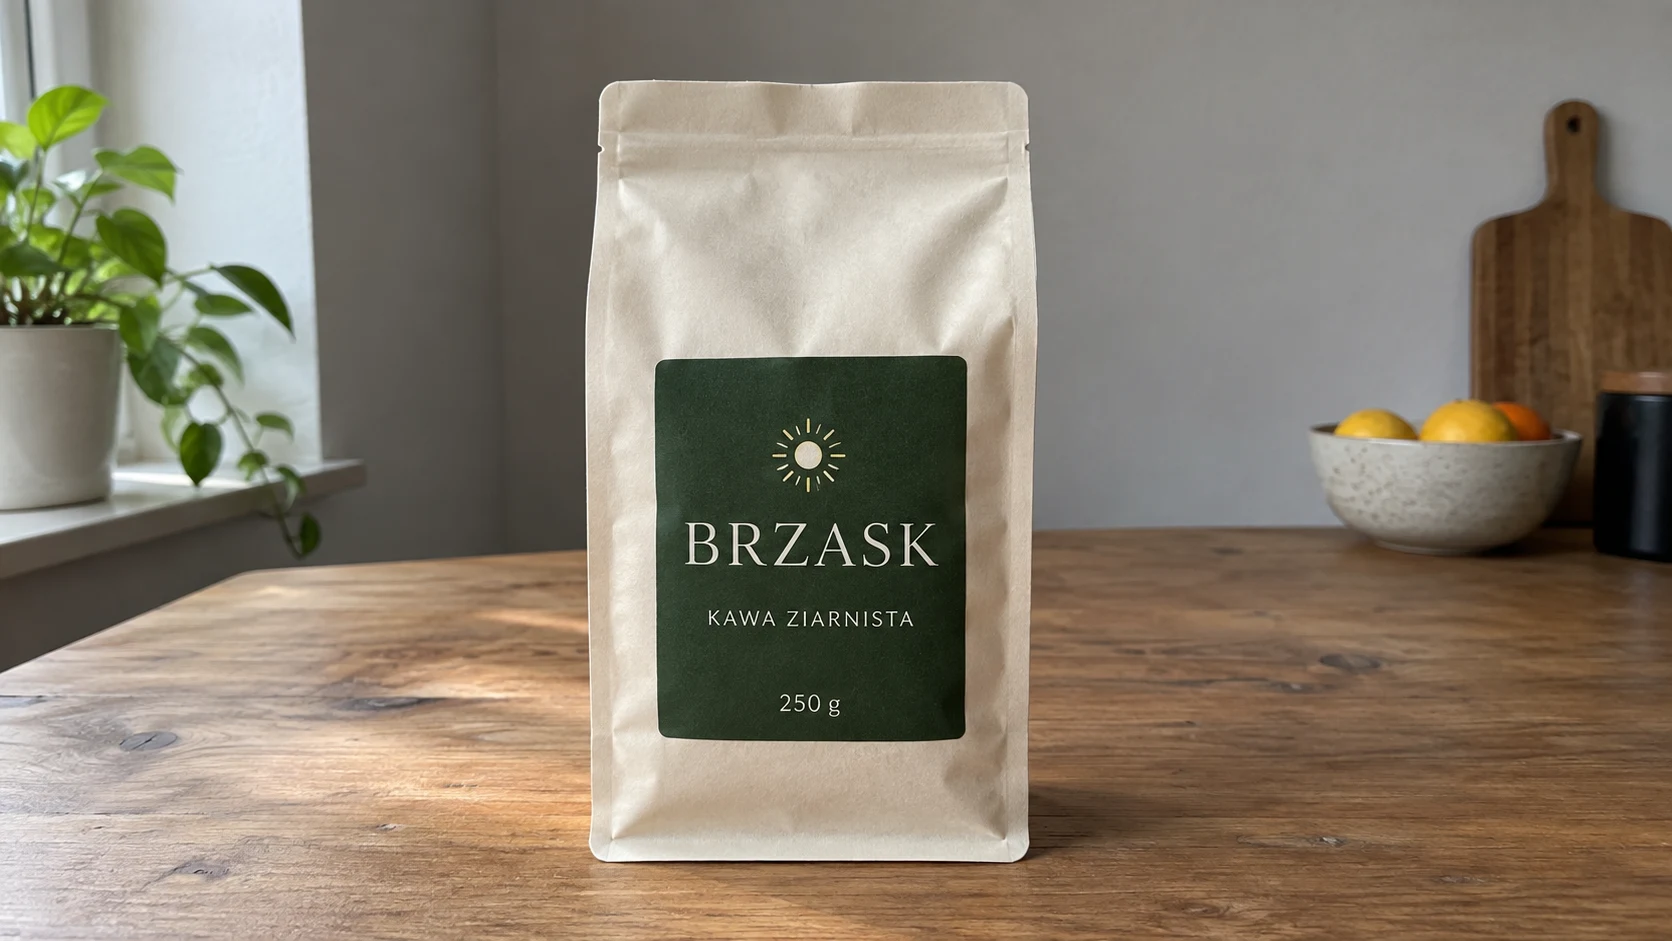
Prompt to copy:
On the label of the attached package, change only the text '250 g' to '500 g'. Preserve the bag size, its shape, all folds, dark green label, BRZASK and KAWA ZIARNISTA text, sun symbol, font, color, kitchen background, lighting and framing. Same horizontal 16:9 format. No other changes.

The text 250 g was replaced with 500 g. BRZASK, KAWA ZIARNISTA and the sun symbol remain legible, and the package was not deliberately enlarged. This is a demonstration text change on a fictional product, not a design for a new bag size.
What the Three Tests Showed
In all three examples, the main instruction is visible: the shirt became navy, the mug red, and the label contains 500 g. The overall composition remained very close to the input.
However, these are different difficulty levels. A large shirt is easy to indicate and compare, a small mug requires edge control, and a label requires reading the unchanged text as well. For this reason, we don’t evaluate the entire edit with one glance.
When the Model Fixes More Than Needed
Return to the original file and shorten the instruction to one operation. Name the element that changed unnecessarily: “preserve the existing collar shape” will be more useful than another “exactly the same.”
If the editor offers selection or masking, limit the editing area. For text, provide the exact spelling before and after the change. On the next attempt, also check areas that were previously correct.
How to Check a Photo Before Using It
Place the input and output side by side at similar magnification. First look at the edited object, then its edges, and finally the remaining scene. In a portrait, pay attention to eyes, mouth and moles; in a product to letters, logo and outline.
If strict control of a specific color or text is required, a simple adjustment layer or text layer in an editor may give a more predictable result. Generative editing is especially useful when the change must account for texture and lighting.
Google · Your sourcesQuantslant higher in your Google - one clickAdd to preferred sources →Where to Start
We would choose changing the color of one clearly visible object. It lets you quickly see how the tool understands object boundaries and whether it preserves shadow. Only later would we move on to small text or several separate details.
Most important is a clear criterion: you know what was supposed to change, and you can point to the rest of the image that was supposed to be preserved. Without that, each successive version may seem better, though it increasingly departs from the original.
See also prompts for AI product photography.
More on this from QUANTSLANT

 benchmarks·I Asked 6 AI Models 8 Biology Questions. Zero RefusalsAnthropic tightened safety filters on dual-use biology. I tested whether ordinary biology questions get blocked. Result: none of them did.